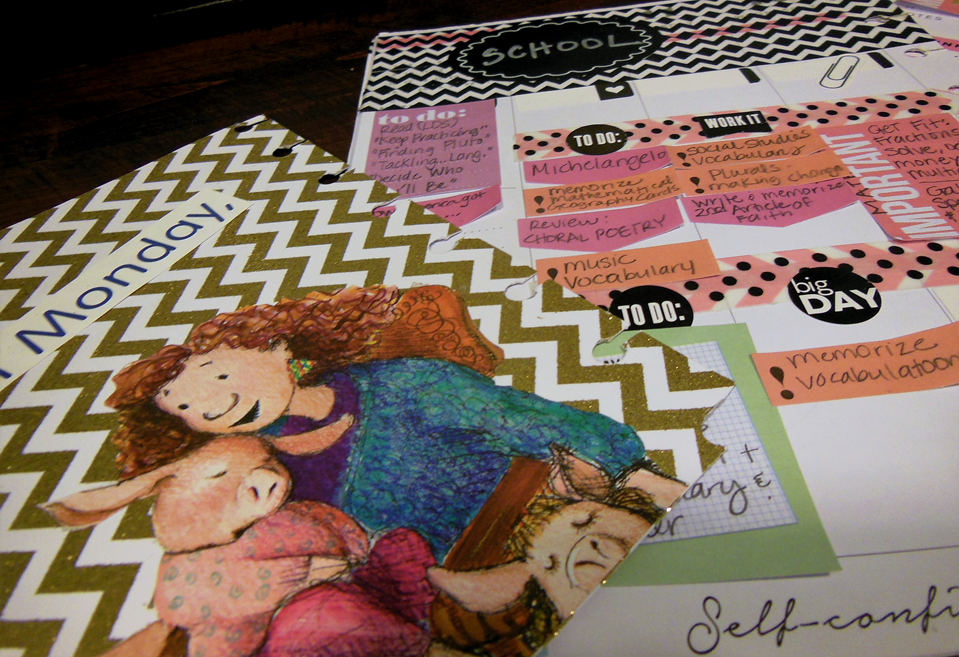
 Homeschooling plans can be easily integrated into an expandable scrapbook-style planner! I give multiple examples from the simple to the more elaborate ways to do it....  Above is the full spread of the sample week that I am using for this post. The "piggy" theme is because in that particular week of my planner, I am focusing on cleaning. (I blog about creating the piggy theme here.) MY HOMESCHOOL DASHBOARD 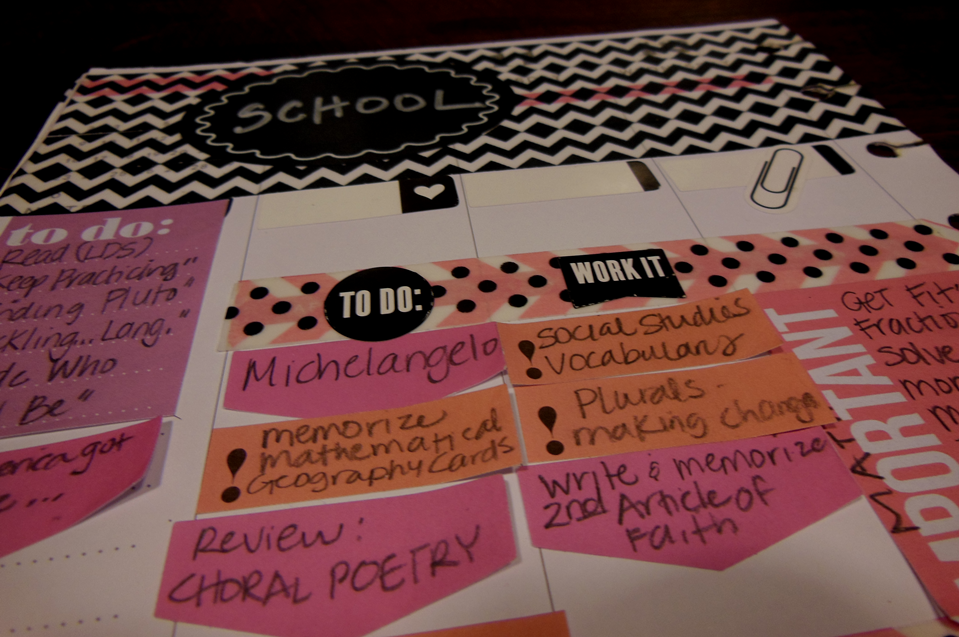 The dashboard method that I use can work with any homeschooling program. I happen to prefer to take parts of many programs and put them together in a binder. 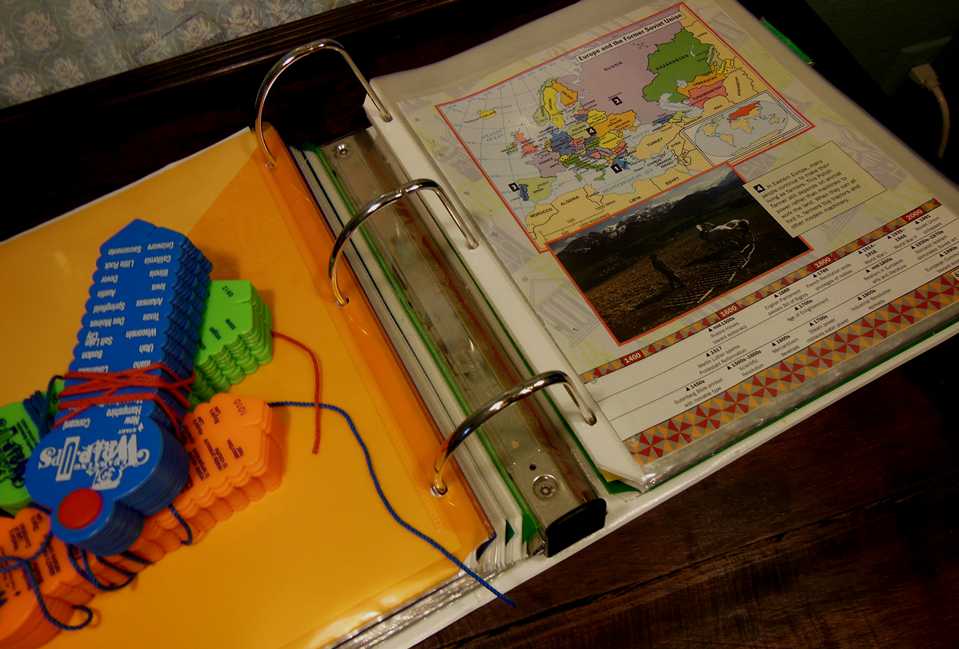 I go through an entire binder and write everything down that I want to accomplish on Happy Planner sticky notes. 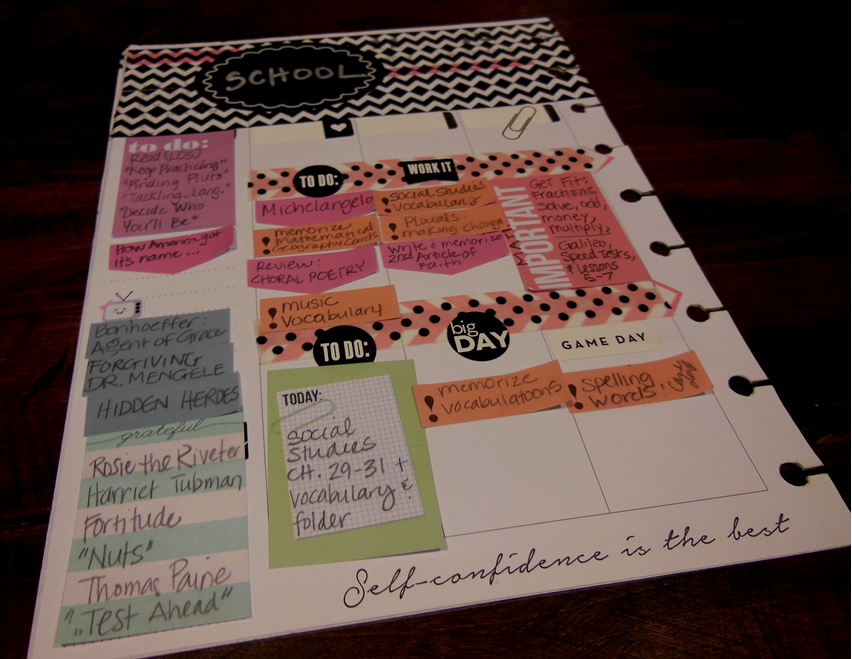 I place the sticky notes on my homemade dashboard. The dashboard is made from a recycled page of my planner and a divider card double stick taped together. I wanted the dashboard to be extra sturdy because I move it from month to month. 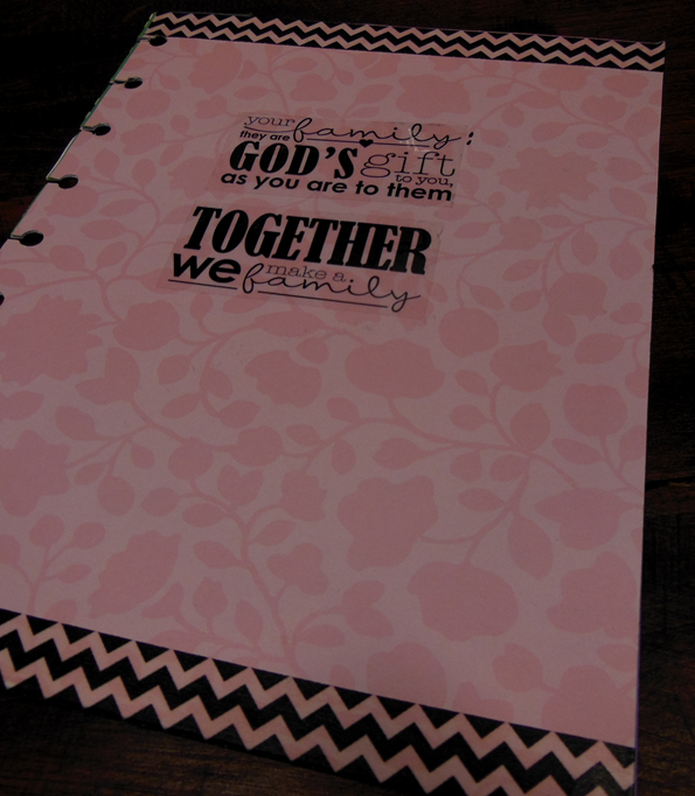 Front of Homeschool Dashboard 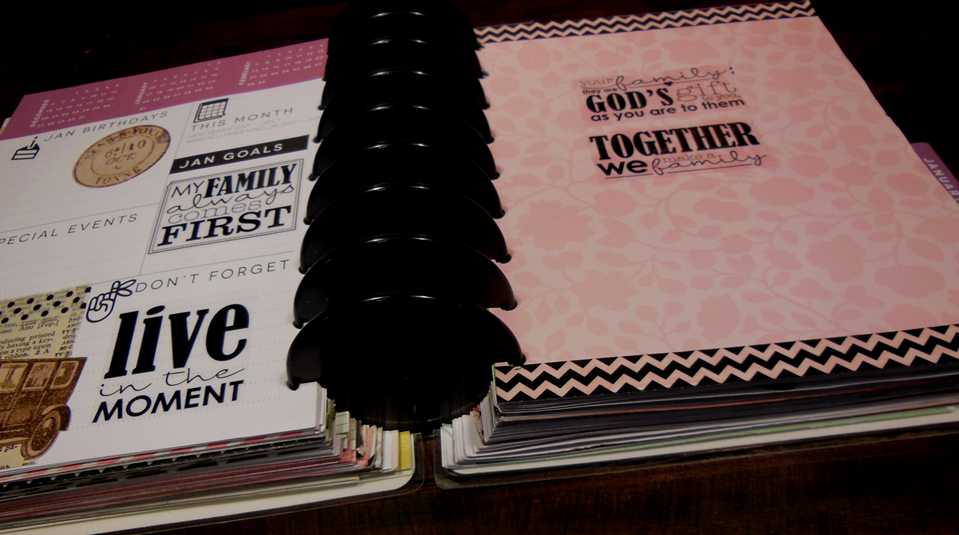 Front of Homeschooling Dashboard in Place  Dashboard in Place THE "STICKY NOTE" METHOD 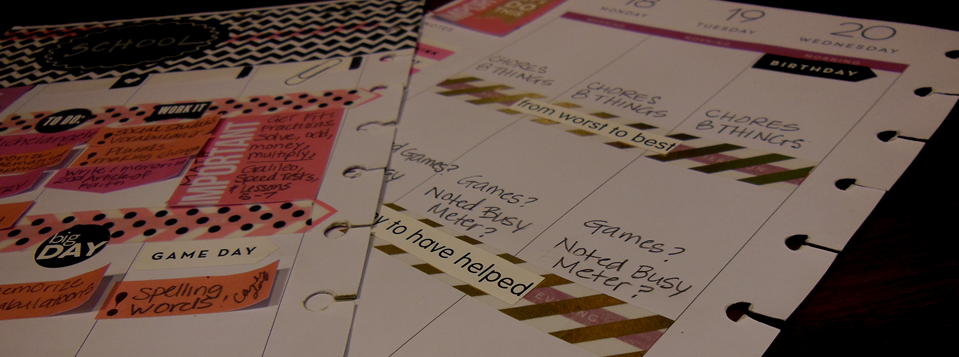 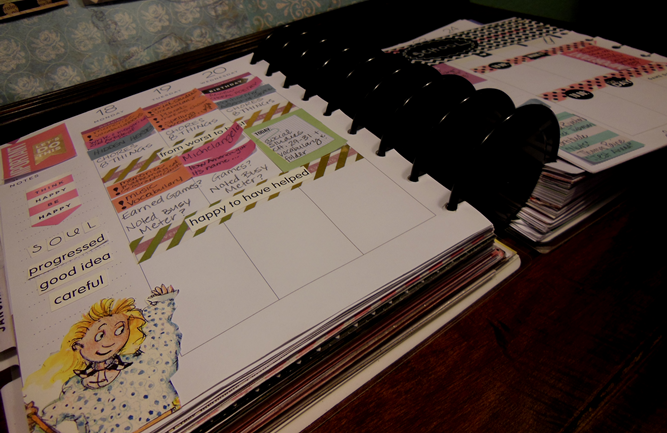 I plan my homeschooling week by transferring the appropriate sticky notes to my weekly spread. The awesome thing about planning with sticky notes is that I can MOVE them! 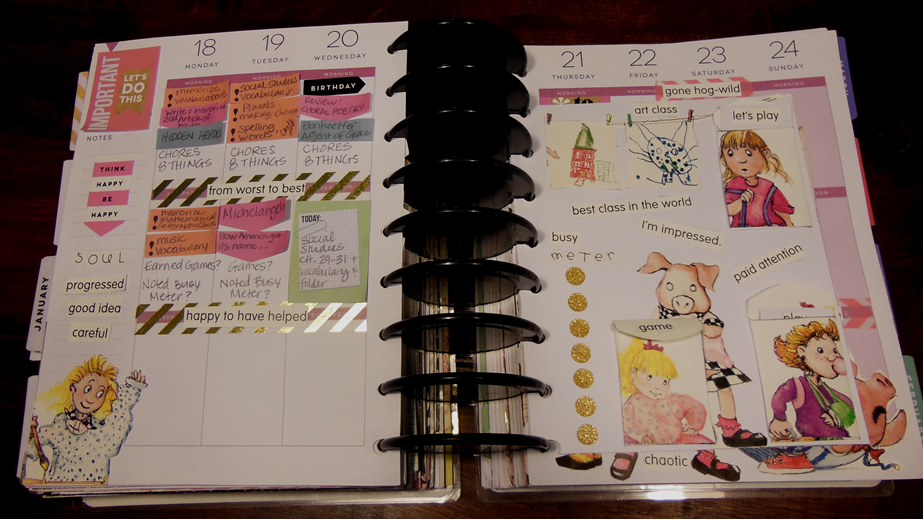 My preference is to throw away the sticky note when we finish a task. If we don't complete an assignment, I move it to the next day or next week. Writing It In...  Instead of using sticky notes, I write in any independent work I expect my children to do. Everyday, they are supposed to pick from 8 out of 10 possible choices that I have posted on a homemade decorative chart. 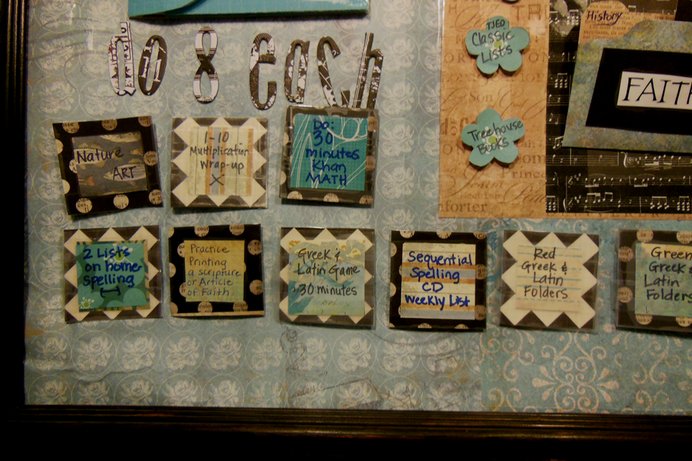 The kids know that anything written in blue must be completed daily. They can choose between the other boxes with black writing. The boxes are affixed to the chart with velcro so that can change them as needed. 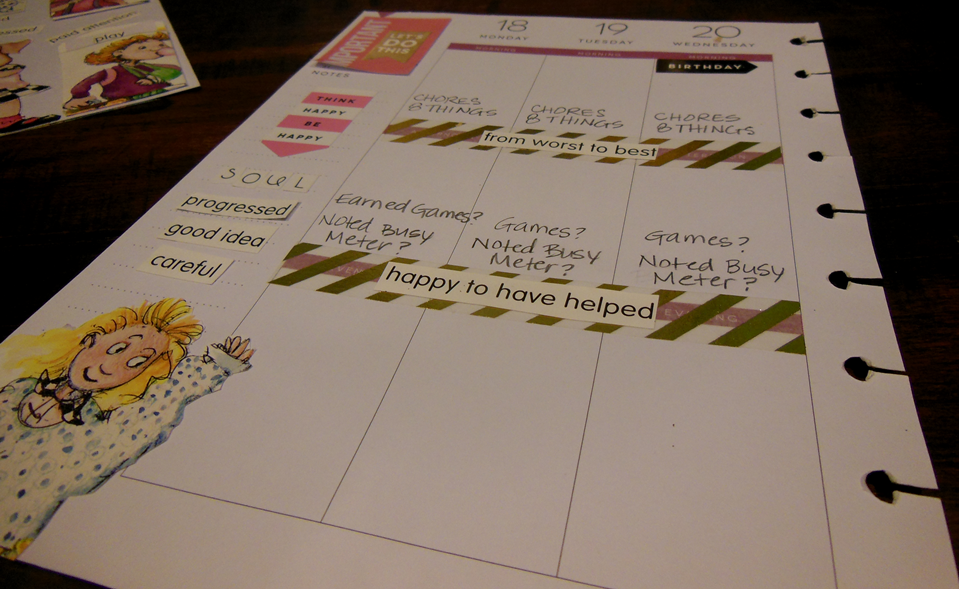 Besides checking off when chores and independent work is completed, I use my planner to remember to "catch" my kids busy at their "8 things" list so that I can compliment and reward them. HOMESCHOOLING INSERT  This insert is a VERY optional project that I added to the week. It allows me to track "catching" the kids working well independently and reward them with a game, which they can choose from one of the mini envelopes. 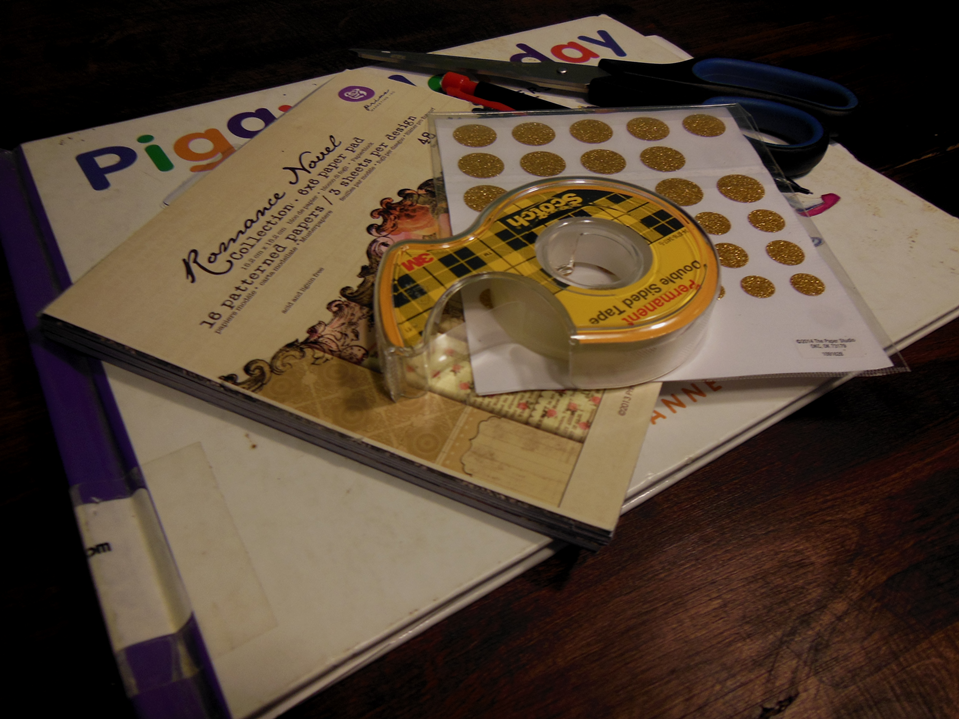 The above photo is of the supplies I used for the (elaborate) homeschooling weekly insert. Money-saving tip: An old library book purchased for 25 cents provided me with picture and word cutouts. 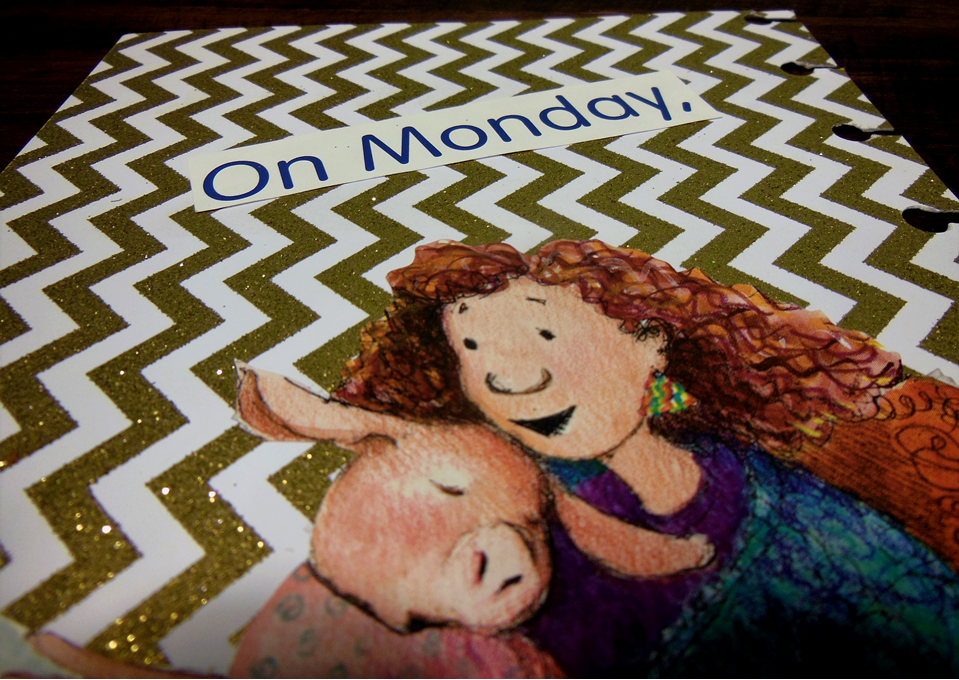 Front of Homeschooling Insert 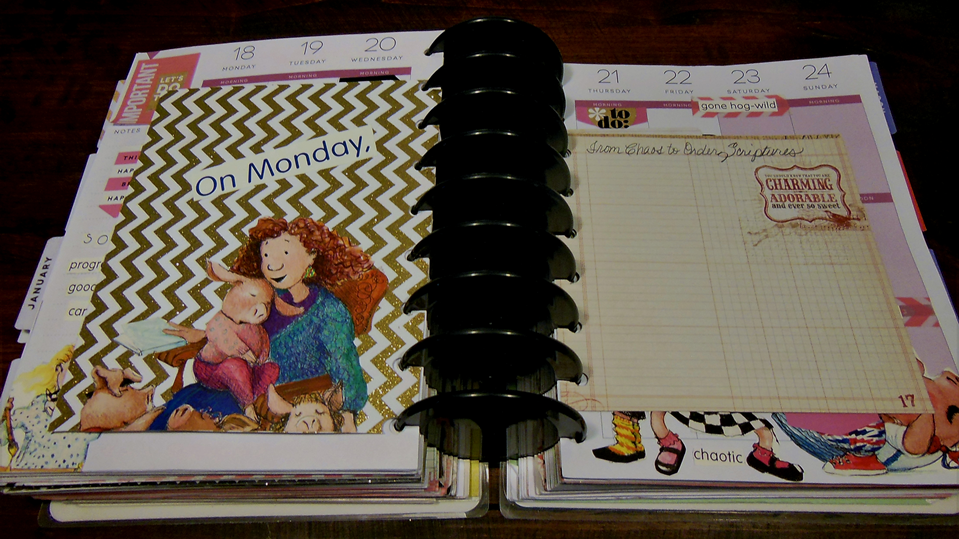 Front of Insert in Place 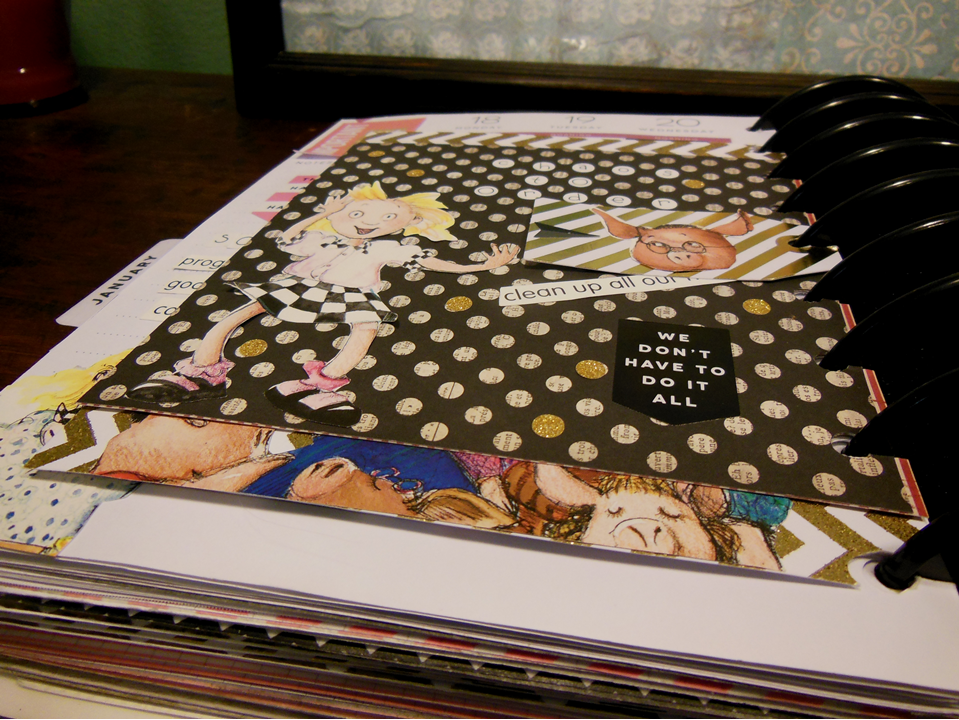 Front of Homeschooling Insert in Place Under Scripture Insert 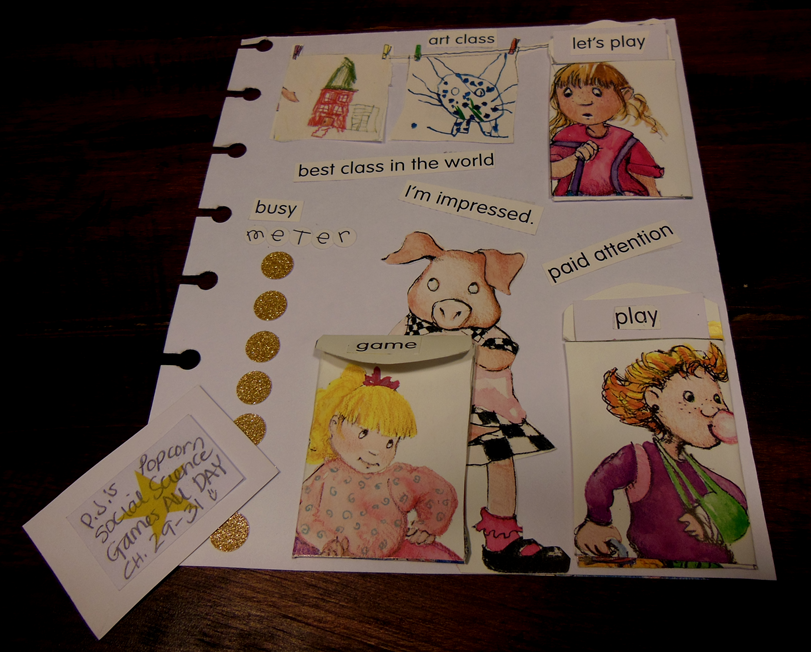 Back of Insert 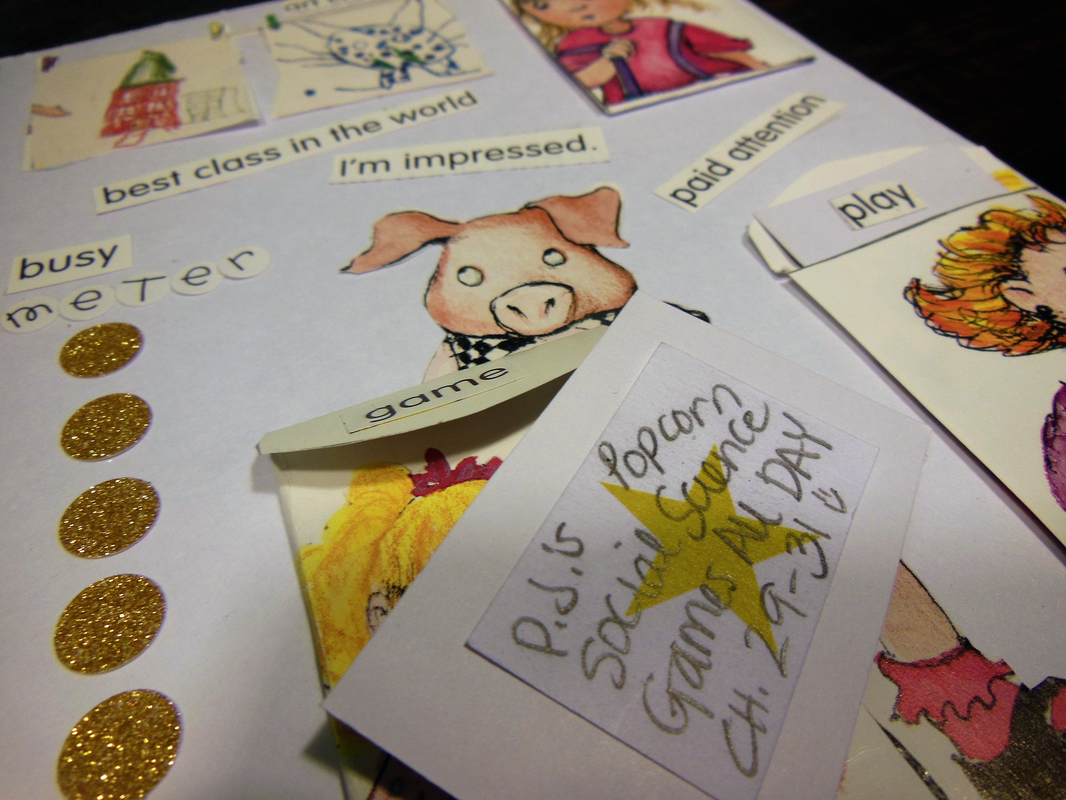 Back of Homeschooling Insert. 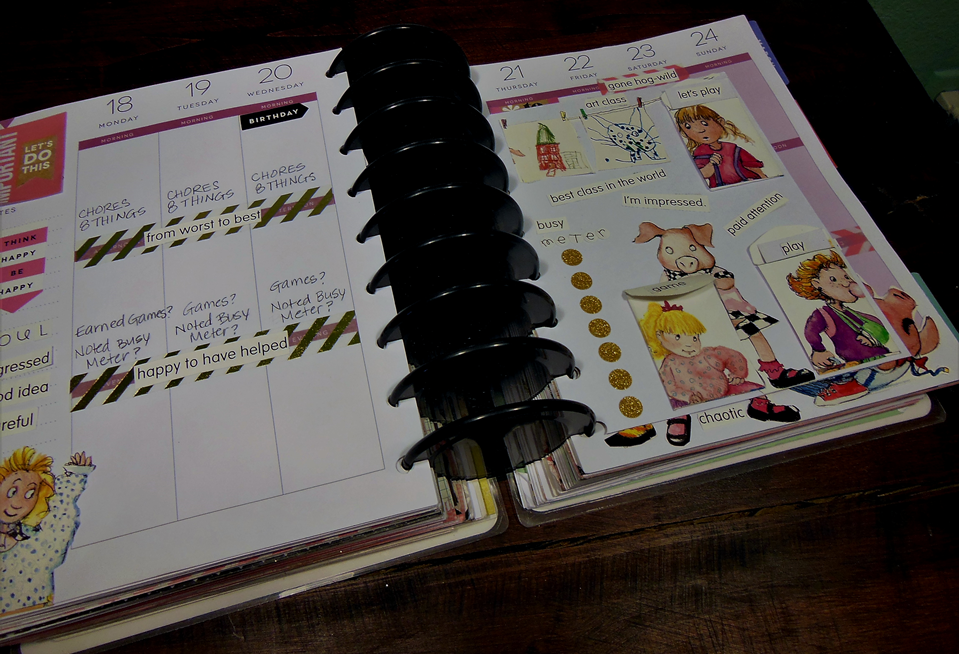 Back of Insert in Place 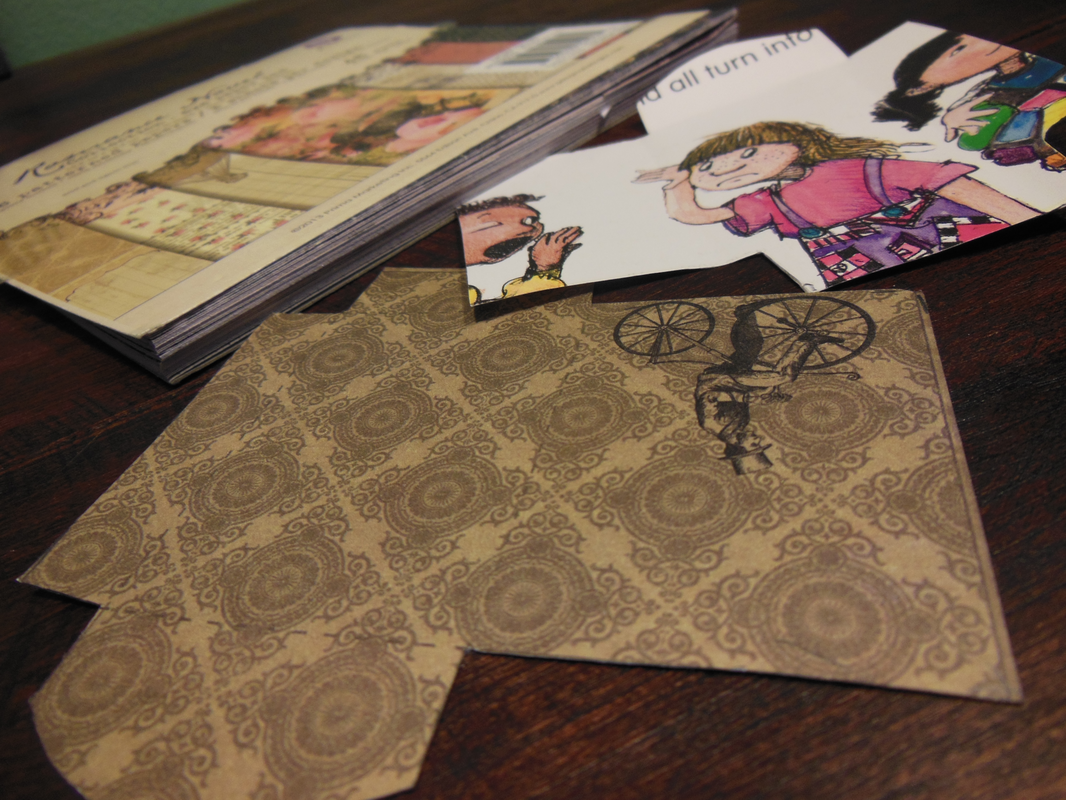 I created the envelopes by tracing a store-bought form onto pages from the library book. All Put Together... 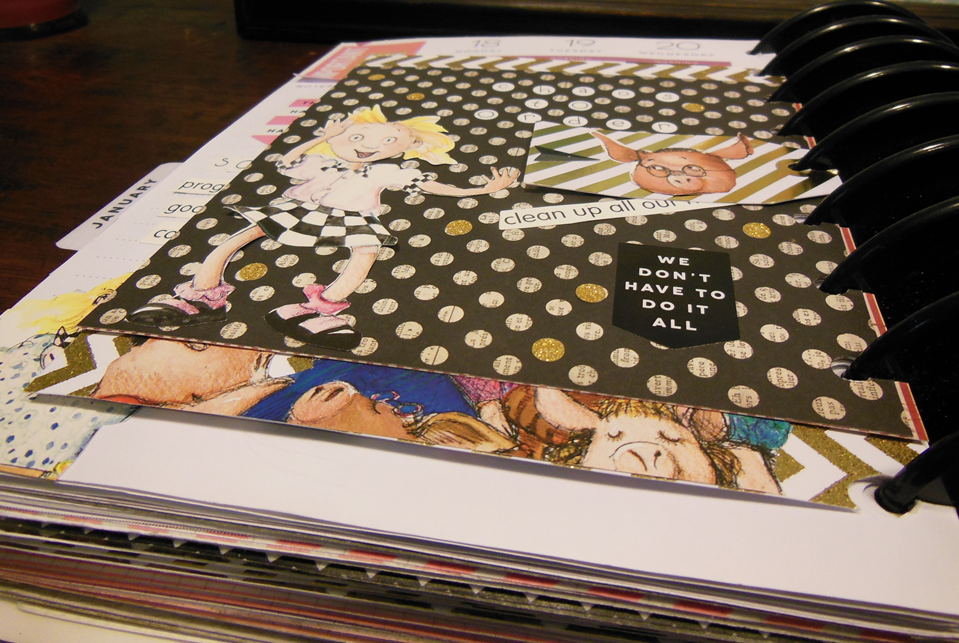 The Homeschooling Insert rests under my "War Room" insert. 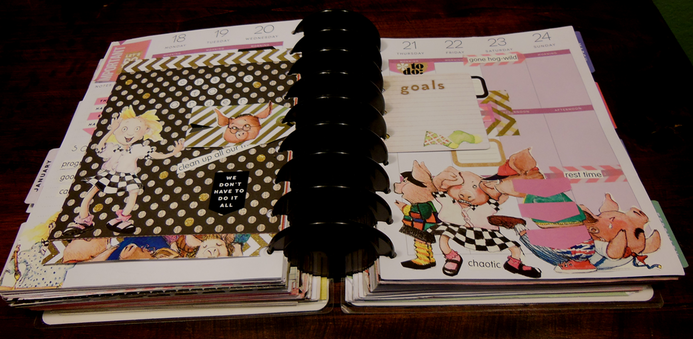 Ready for the Fun!  Popcorn in our P.J.'s
0 Comments
Your comment will be posted after it is approved.
Leave a Reply. |
Click to set custom HTML

Awesome Planner YouTube Channels that I Follow
PersonalizeMyPlanner Archives
June 2016
Categories
All
|
 RSS Feed