|
*Disclosure: I only recommend products I would use myself and all opinions expressed here are our own. This post may contain affiliate links, which add no additional cost to you, but I may earn a small commission.
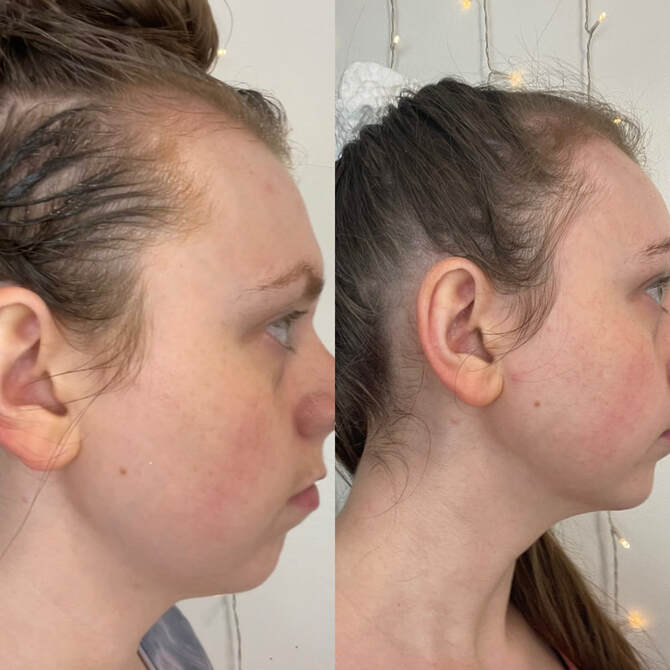
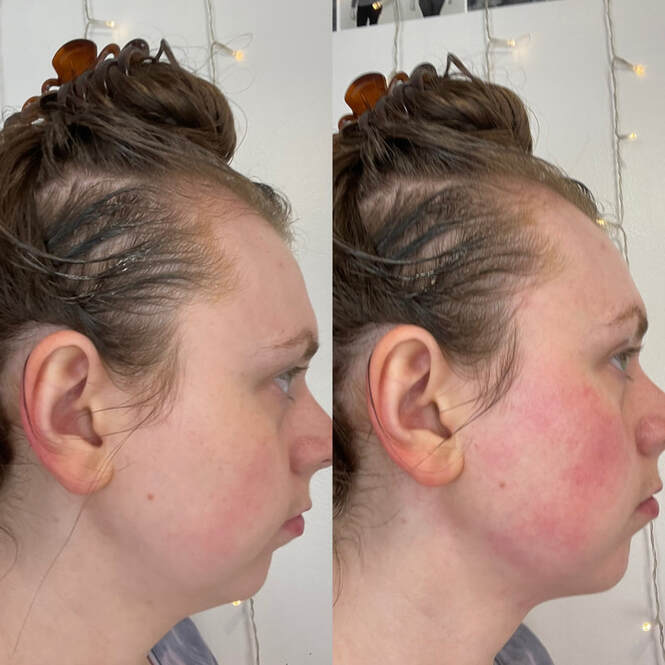
I’ve seen a handful of TikTok videos making fun of Gua Sha users' before and after photos. The critics say that influencers exaggerate their double chins in the before photos to fake their results. The nay-sayers claim that the massage tool cannot work.
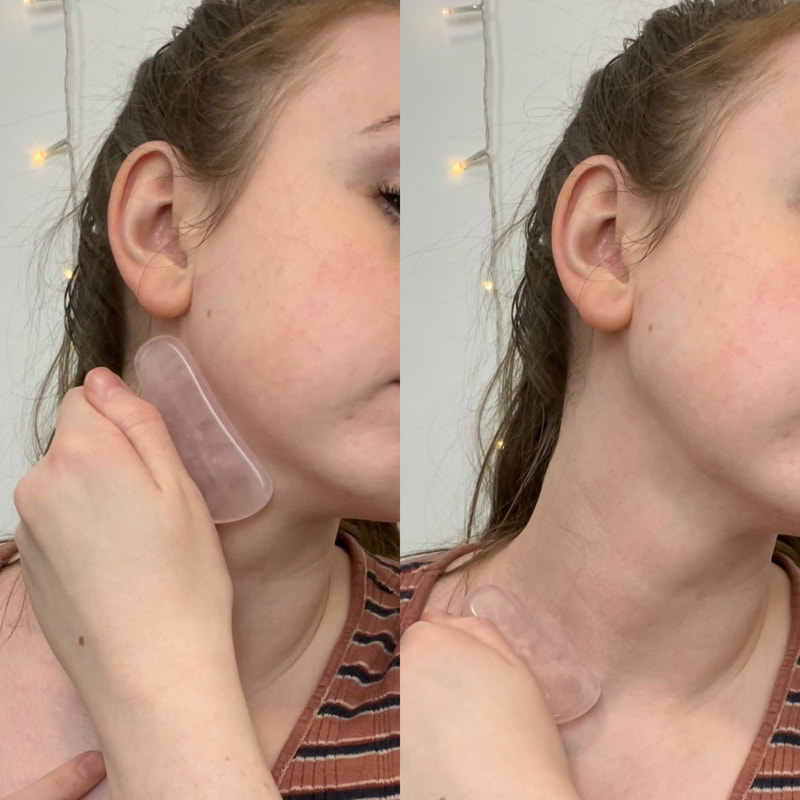
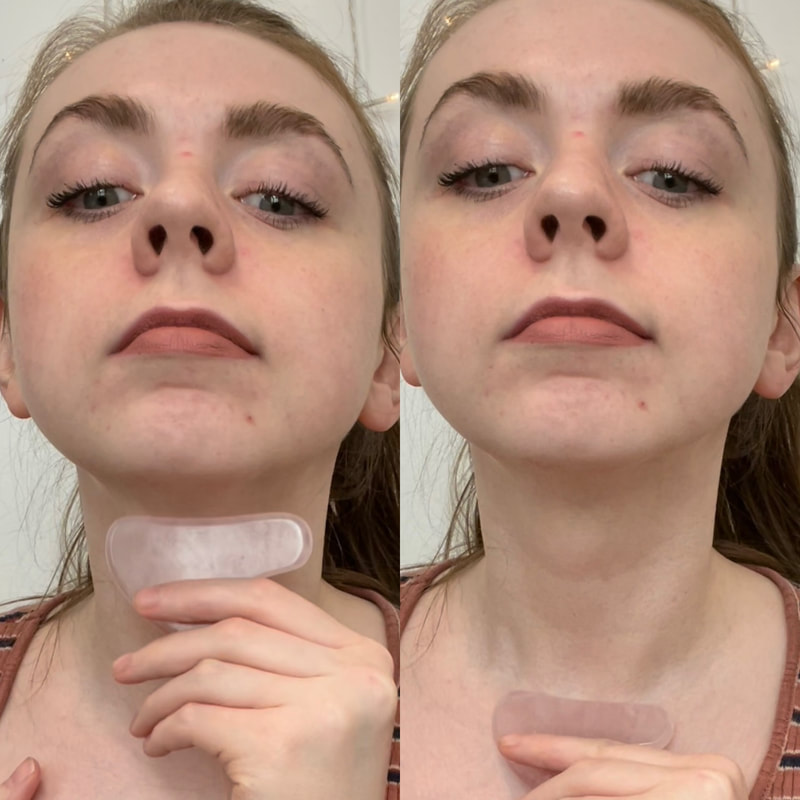
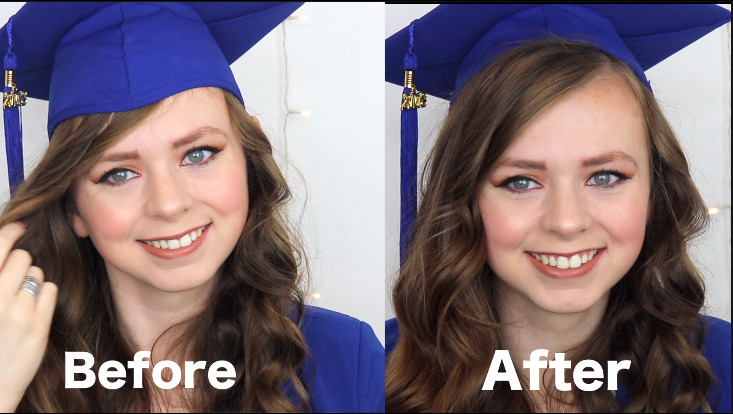
I wasn't sure before I tried it, but my results amazed me! The gua sha techniques I used DO WORK! One thing to note is that it doesn’t literally change the shape of your jaw - it just makes it so you can see the more chiseled version of yourself.
Below is the before and after the first time that I used the Gua Sha.
Now let’s get into how you can get similar results! First, you’re going to need a Gau Sha. Some people claim you need to get your gua sha stone from a specialty shop to make sure that it's made from real Rose Quartz or Jade. But that is an expensive route. Because I wasn’t sure if the gua sha buzz is all hype, I got a cheaper version off of Amazon. (This money-saving version works great for me!) Below are the links to the brand I use and a couple of similar ones with good reviews.
Gau Shaw I Use (and my mom and sister use).
Other options with good reviews
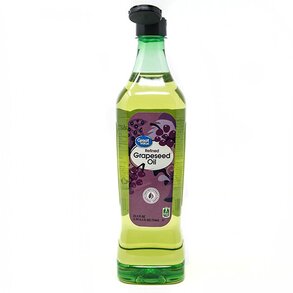
It’s really important to make sure that your face and neck are well oiled when you do this technique or else it could cause some wrinkles to form from the stone pulling on your skin. You can use whatever oil that you would like, but I did a little research and found out that grape-seed oil is a good option to use on your face because it can actually help treat oily or acne-prone skin. I don’t know if it has done anything to help with my acne yet because it’s only been a little over 2 weeks since I started using it. But I do know it hasn’t clogged my pores, so I’m good with that. I just got some refined grapeseed oil from my Walmart.
If you’re not comfortable using grape-seed oil from the grocery store, here’s one from Amazon that you could try out that has really good reviews.
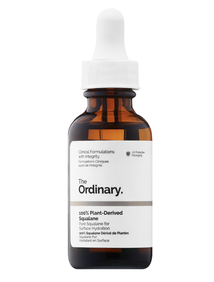
Another option would be The Ordinary 100% Plant-Derived Hemi-Squalane. It works well and I’ve never had any issues with it.
Now that you’ve got your tools, let’s get onto the massage part. I highly recommend watching these 2 YouTube videos the first time you use the gua sha because they do such an excellent job explaining the technique. (My detailed step-by-step photos are below the videos.)
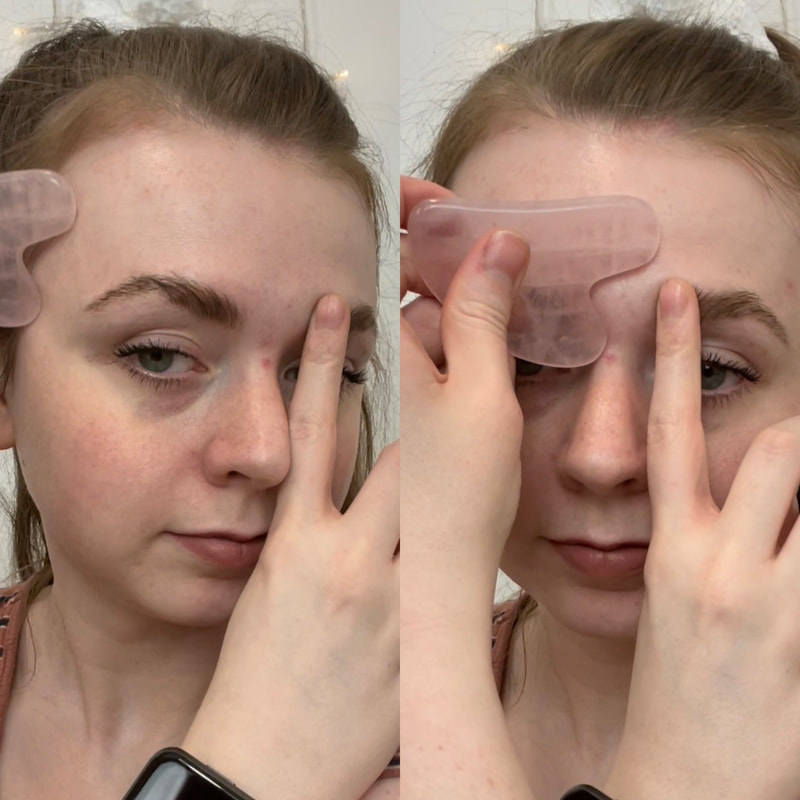
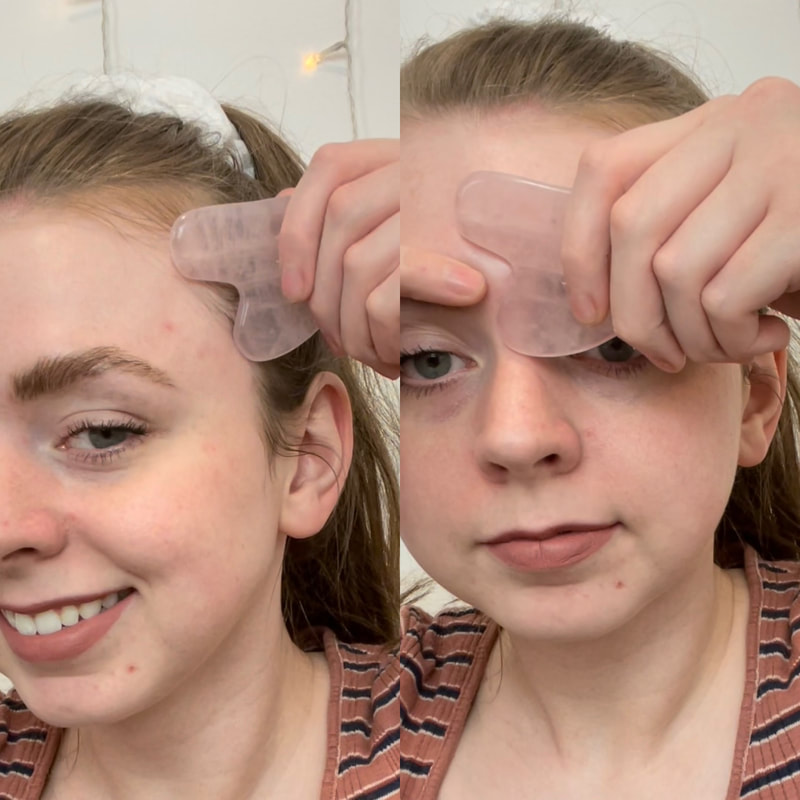
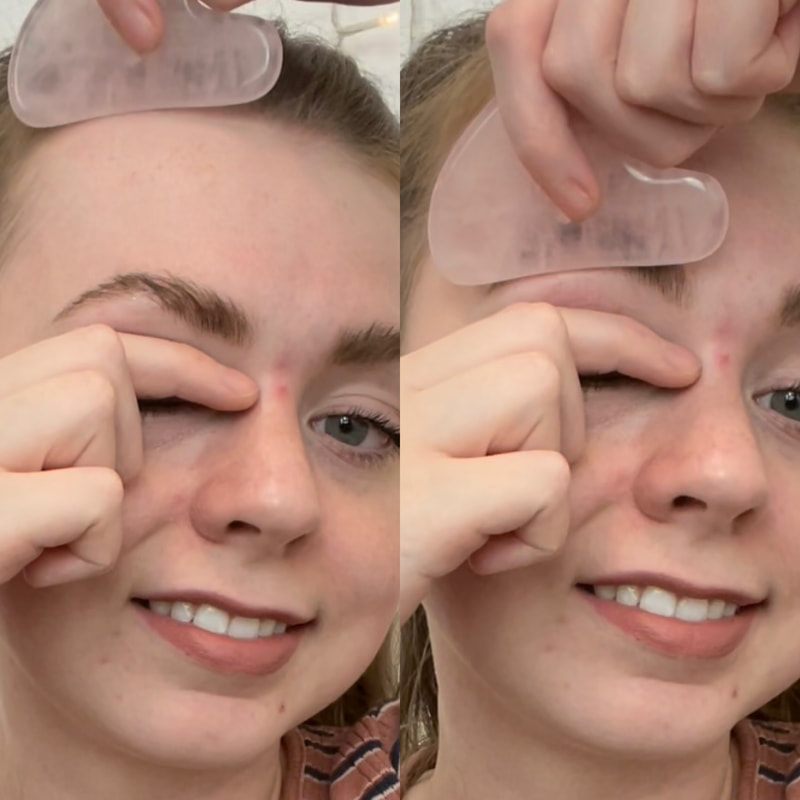
I will show where I rub the stone in some photos, but I highly recommend that you watch the videos to get a full grasp of things.
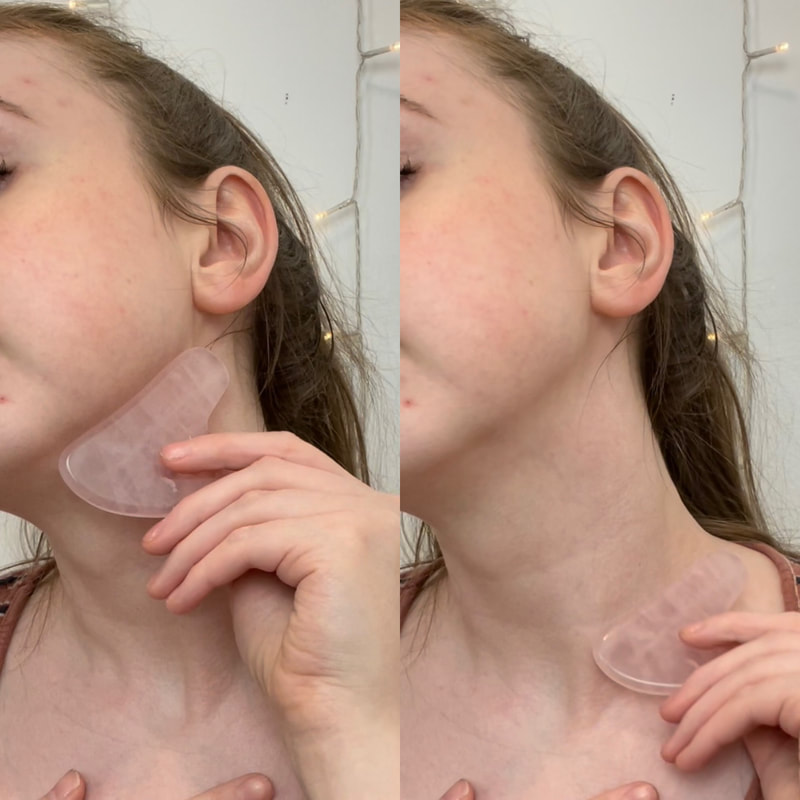
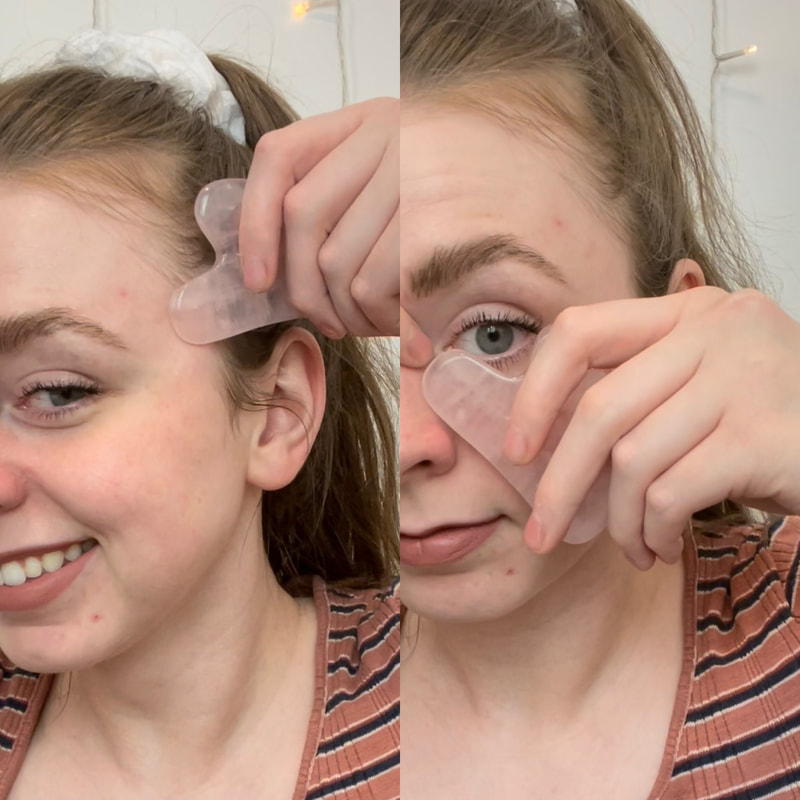
I divide the front and the back of my neck into 6 sections.
When I do my neck, I start at the base of my head and go down. Some videos that I watched said you need to go downwards and some said you need to go upwards. Downwards makes the most sense to me, but you do you.
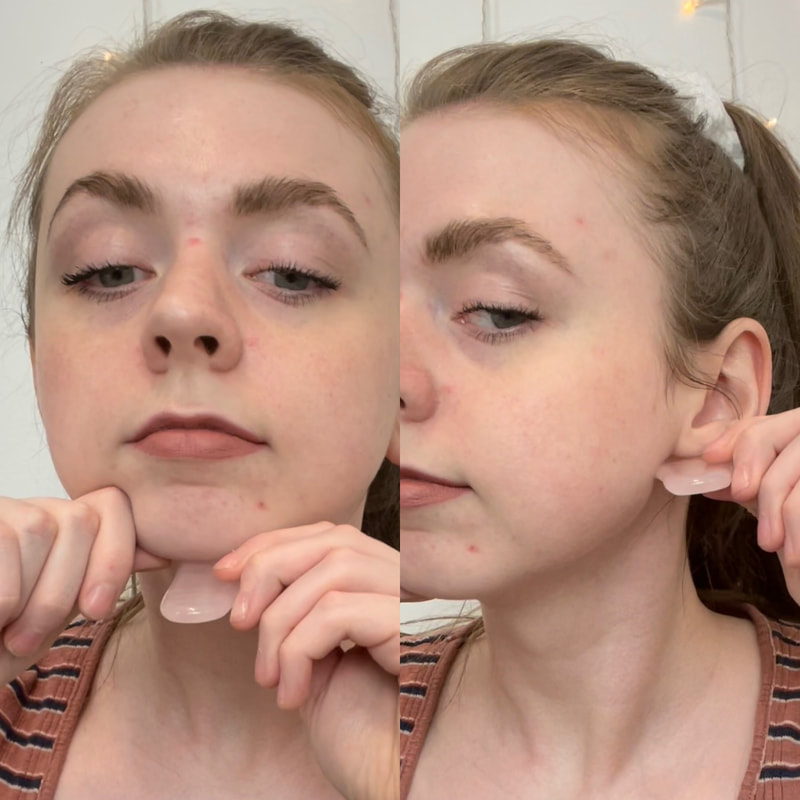
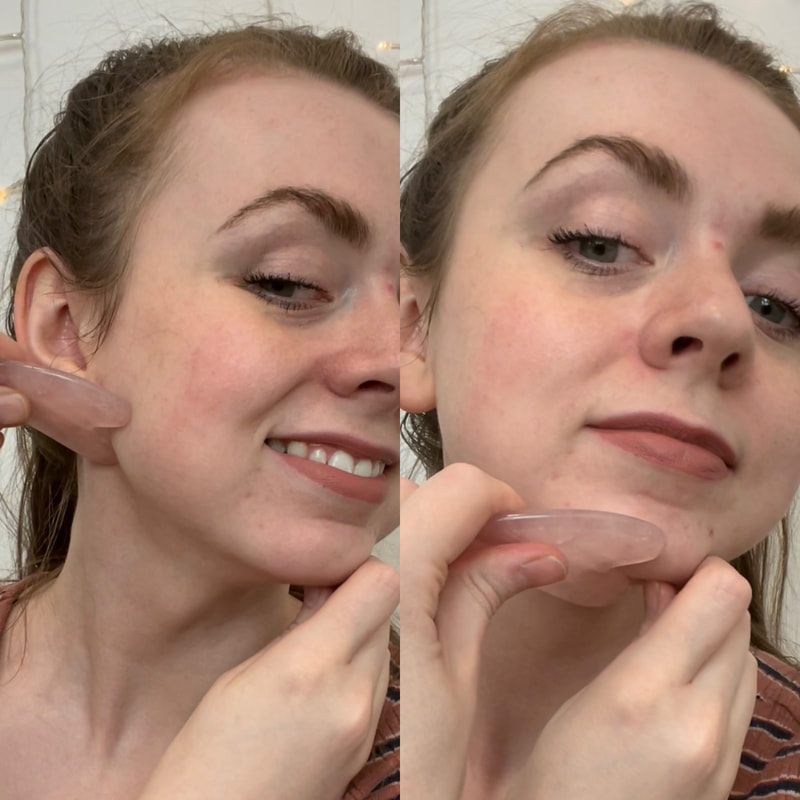
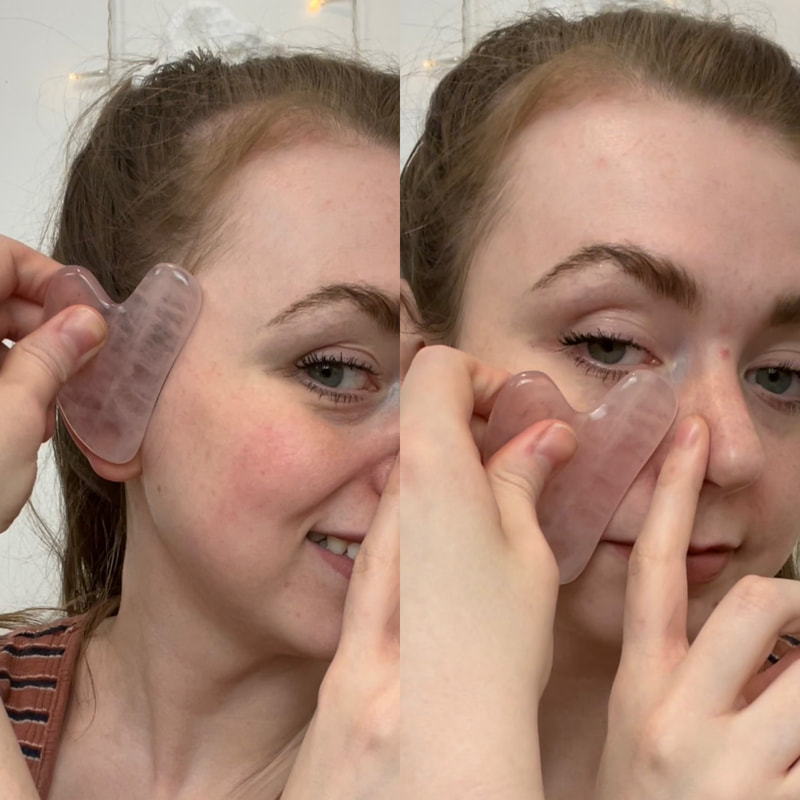
After my neck, I go from my chin to the edge of my jaw with the flat side.
Then, I go along the edge of my jaw line with the U shaped part.
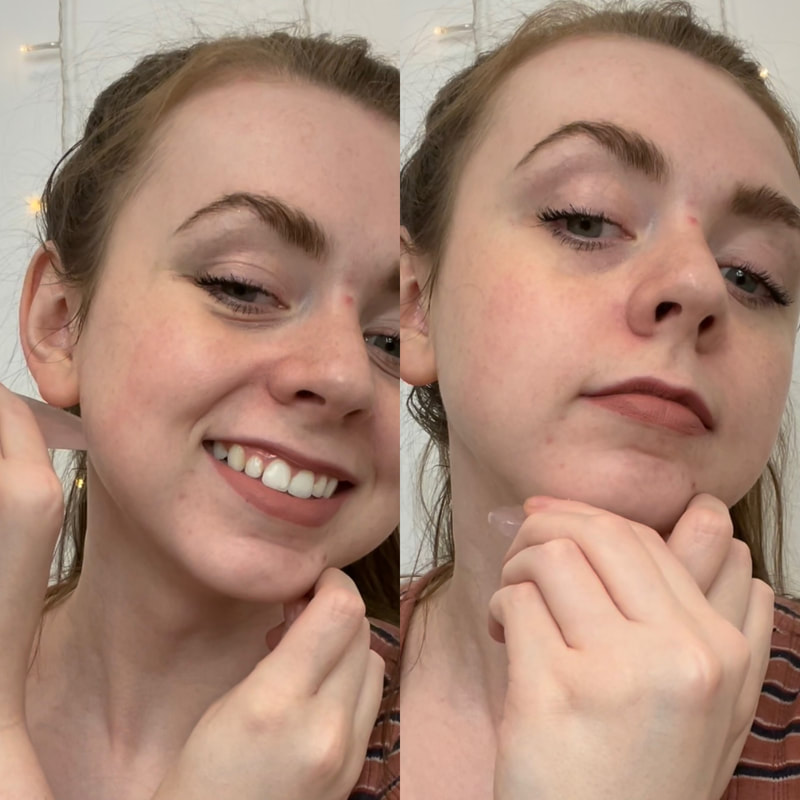
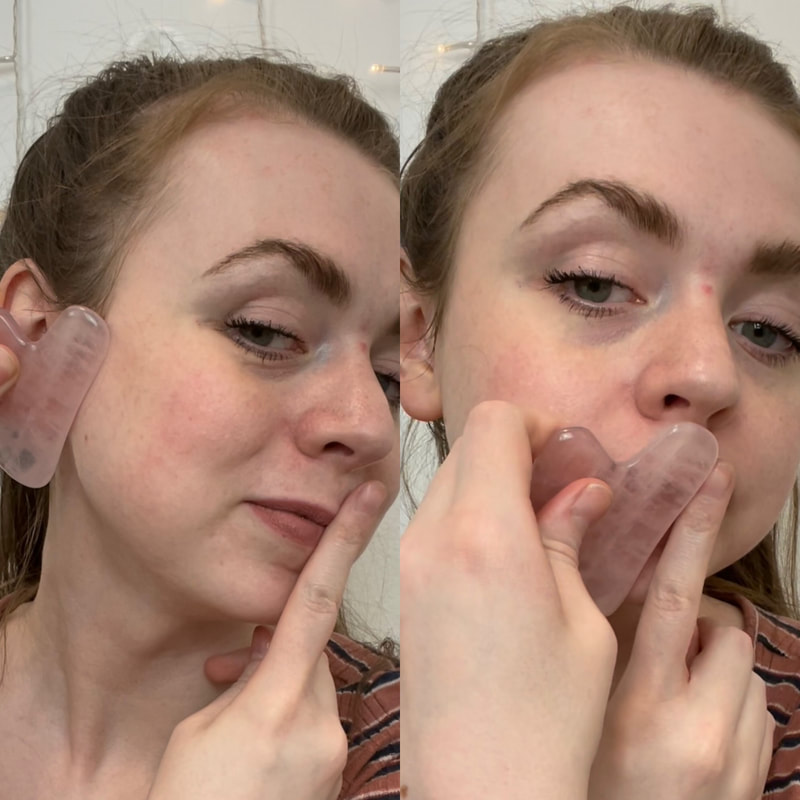
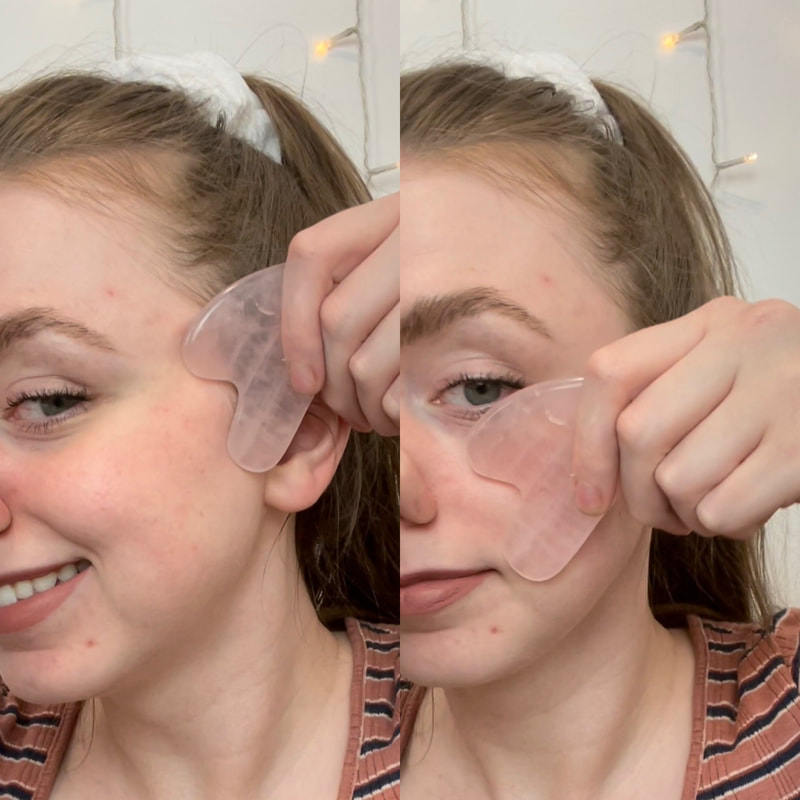
Next, I go across one half of my lips to my ear.
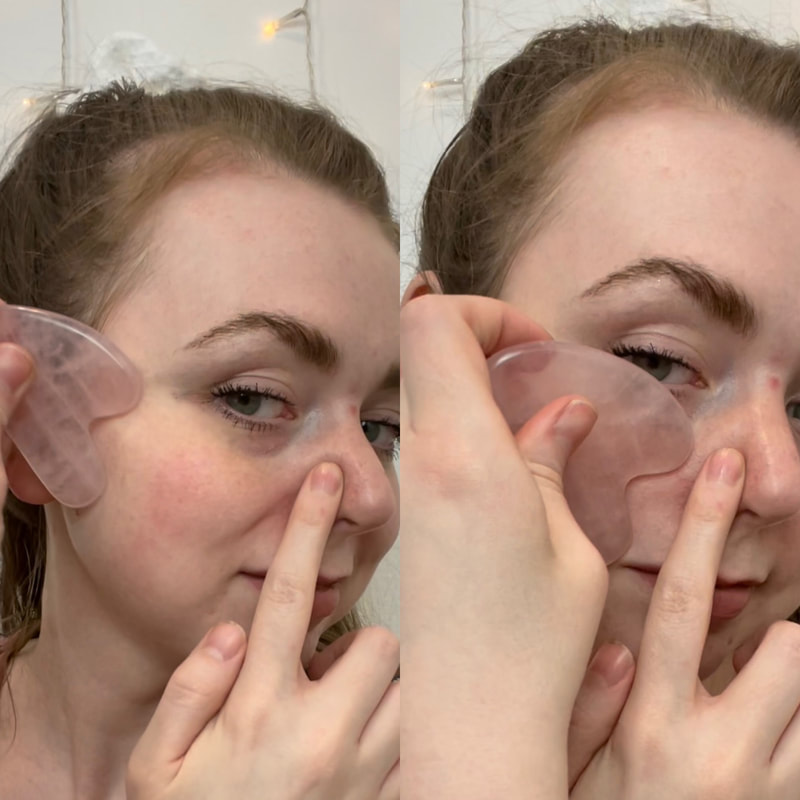
Then, from my nose to my hairline.
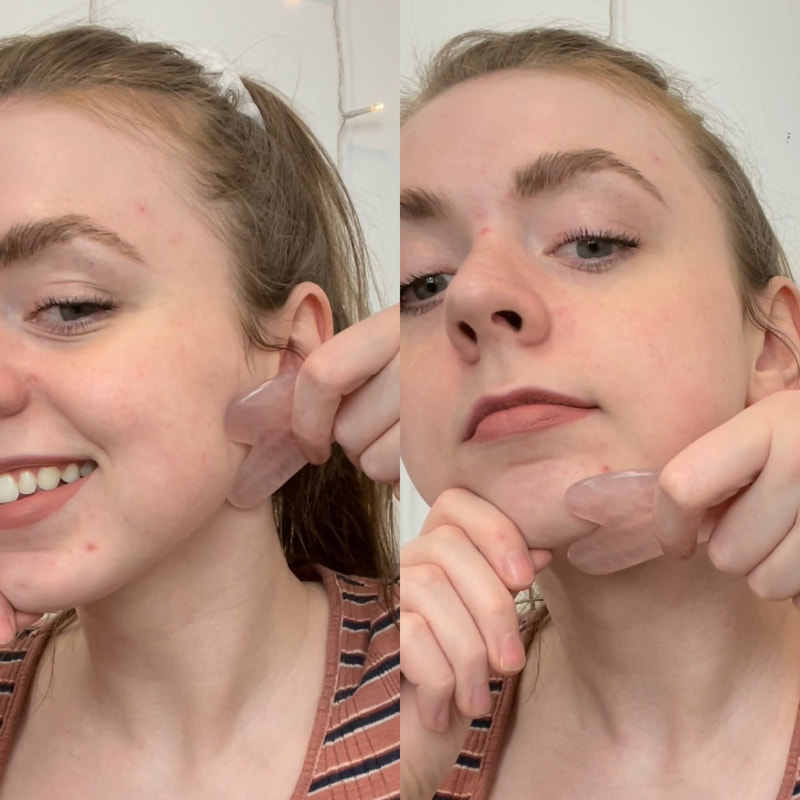
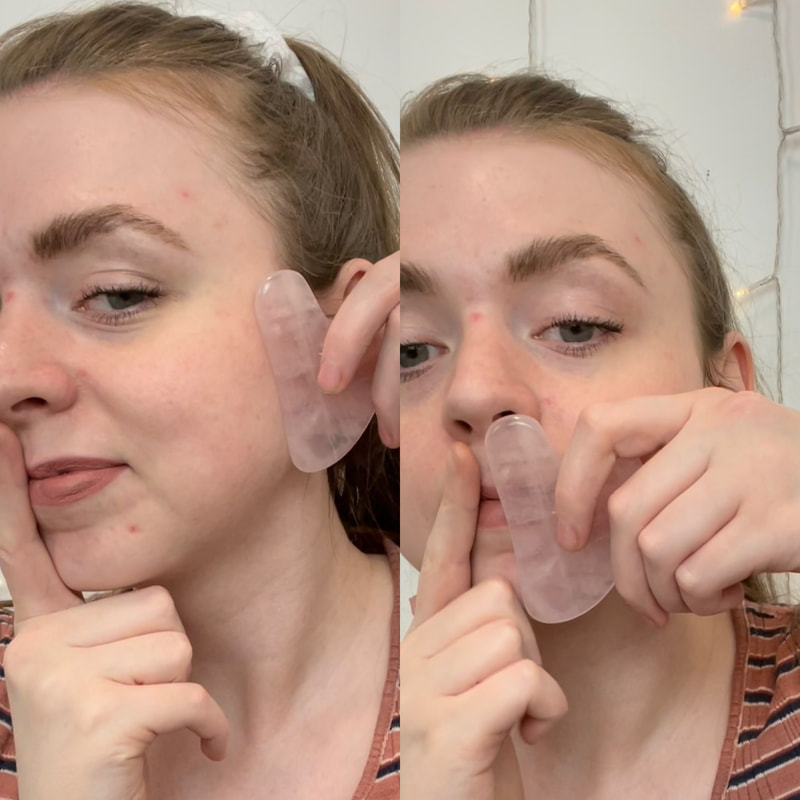
I also take the U shaped side go along my check bone.
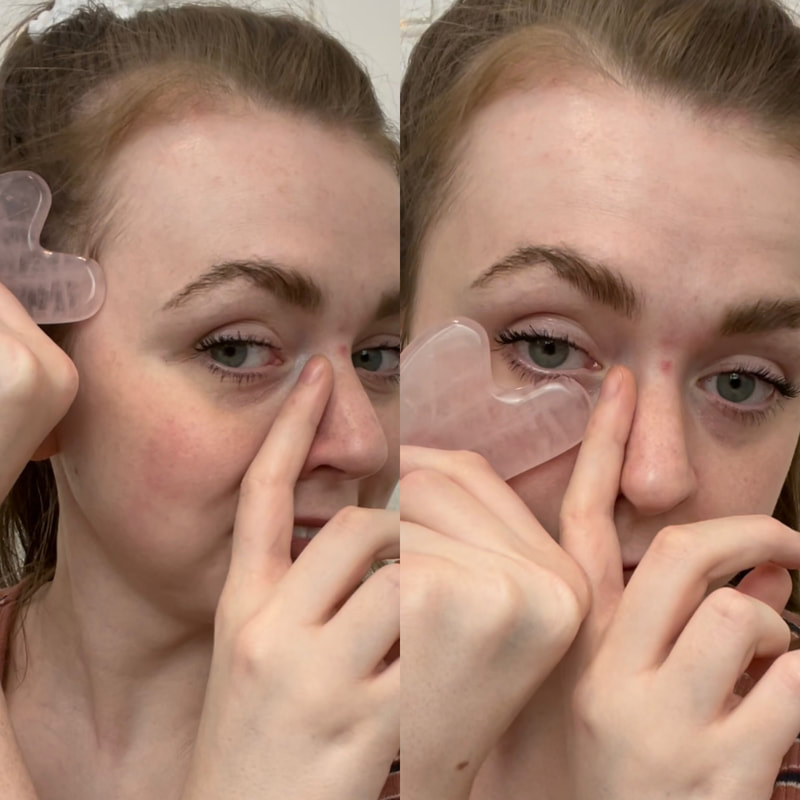
Next, I the longer part of the U shaped part and follow my under eye up-to under my temple.
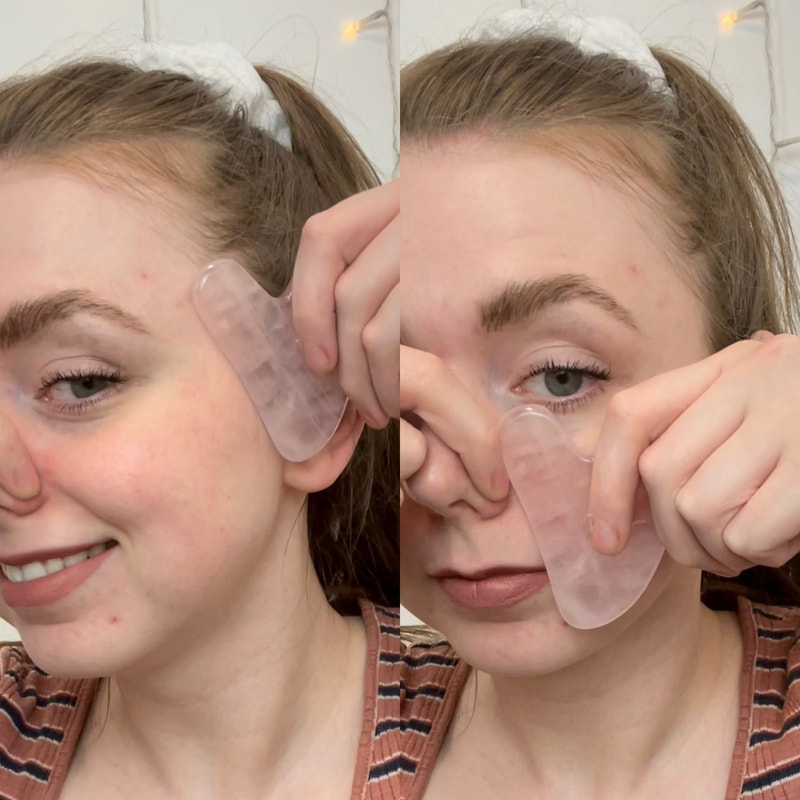
Then, I use the U shaped side again and start in between my eyebrows, follow the shape of my brow, and then, go up to my temple.
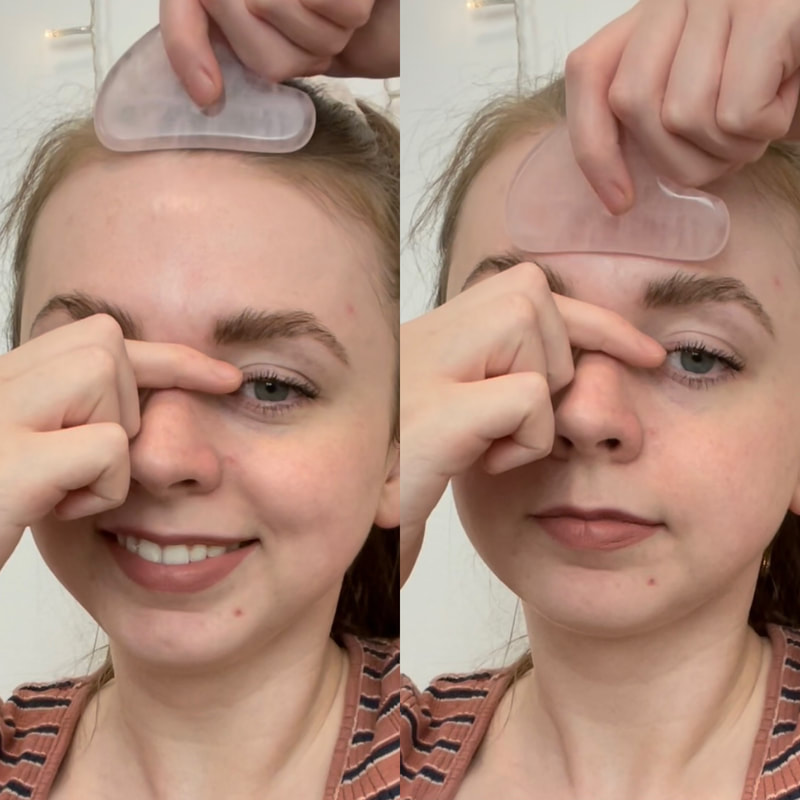
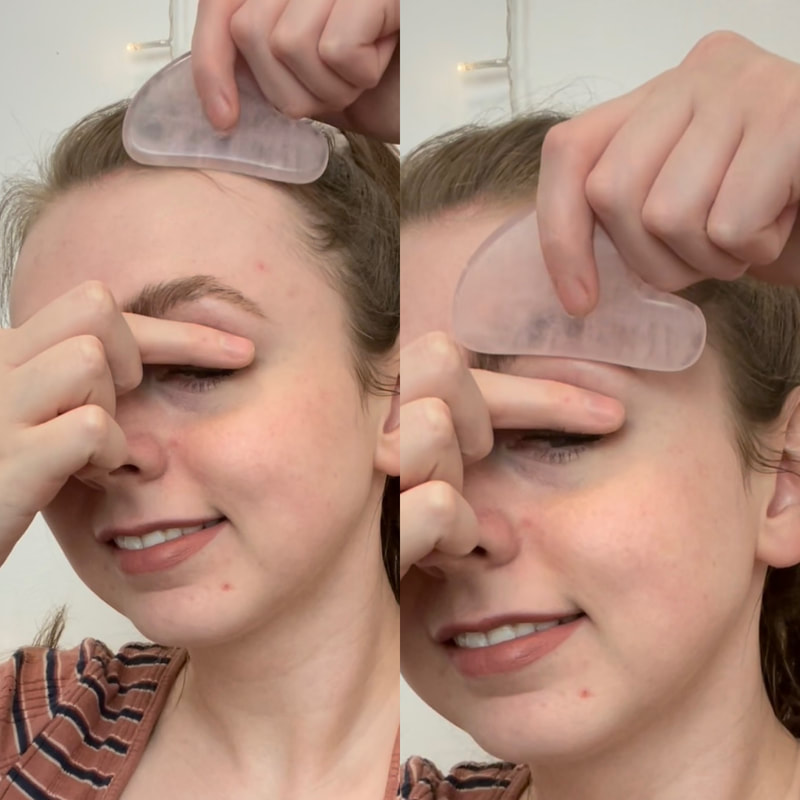
Lastly, I divide my forehead into 3 sections, start at my bows, and go up.
For each area, I do about 20 passes. You can do 5-10 if you don’t have quite as much time, but it might take a little longer to see results
Speaking of results, you’re going to need to be diligent in doing this to see any. It might take up to 2 weeks to see a big difference. I did this every night and almost every morning over the last 2-ish weeks.
IMPORTANT: You can’t just altogether stop doing the technique when you get the results you want. It’s like building muscles. If you stopped going to the gym once you got the body looking the way you wanted, it’s probably not going to stay that way for long.
Hopefully, this helped you out and convinced you to try it out if you were on the fence! If you do end up trying this, I would love to hear how it turned out for you!
1 Comment
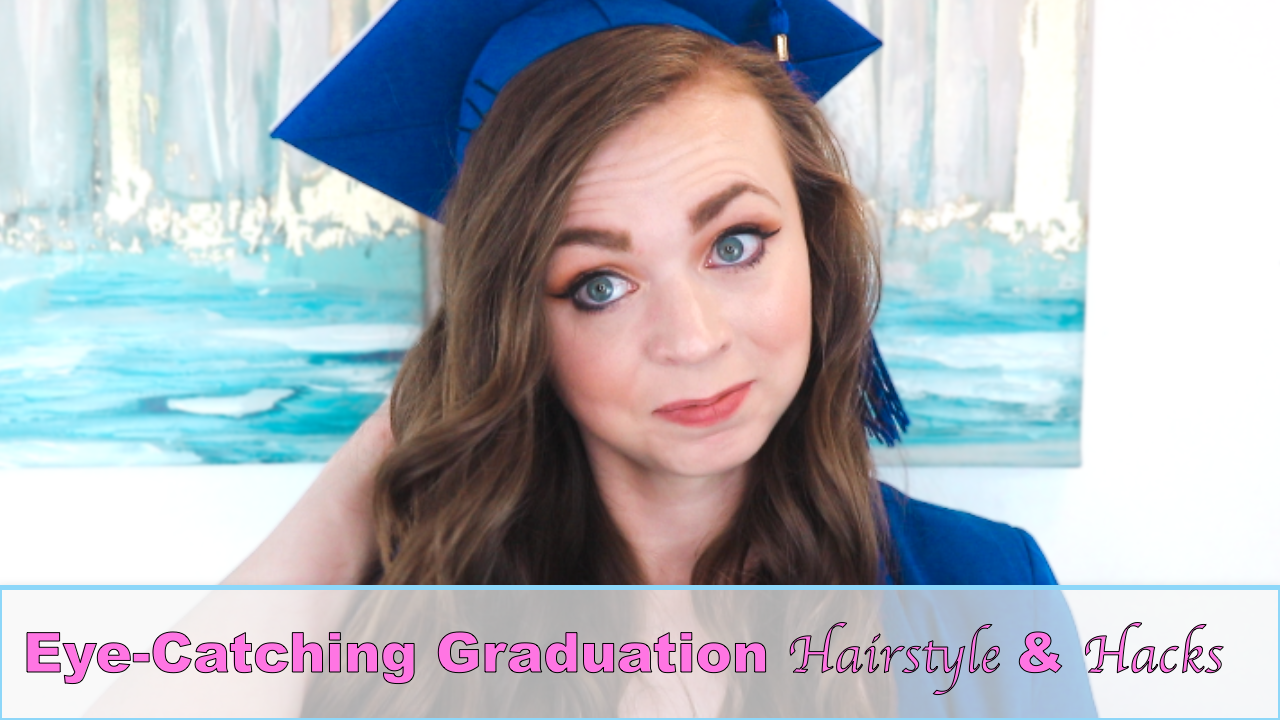
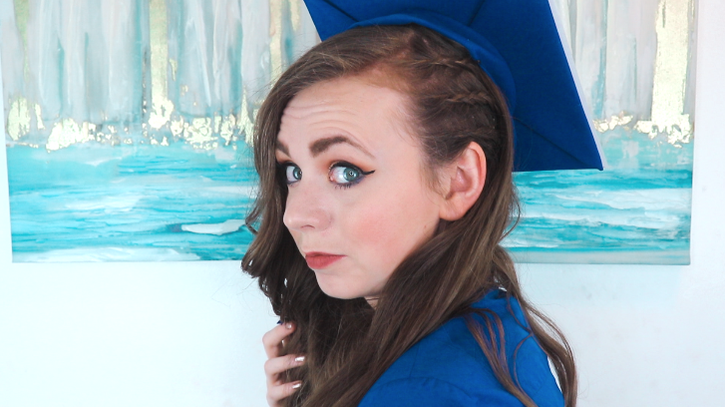
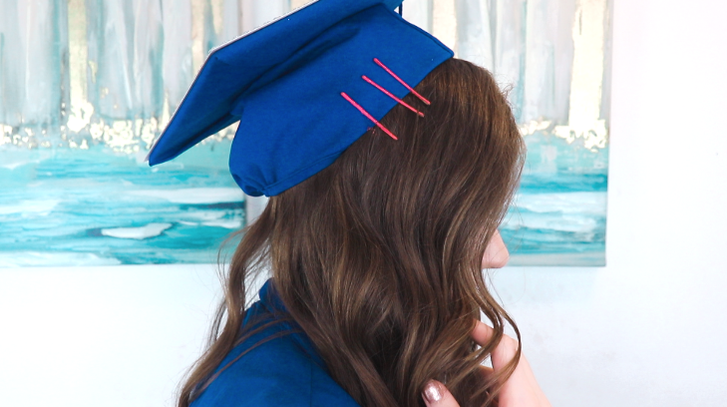
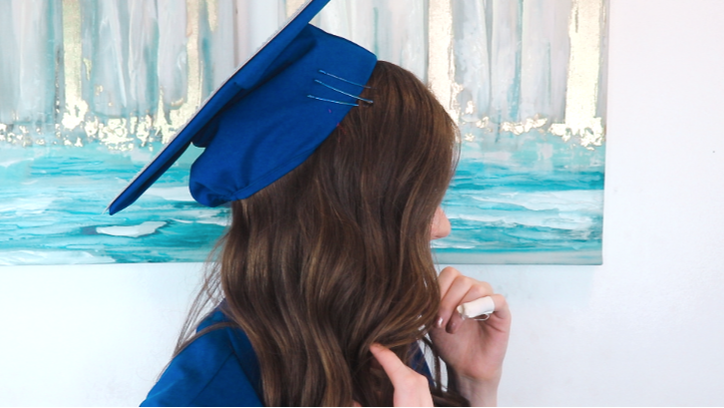
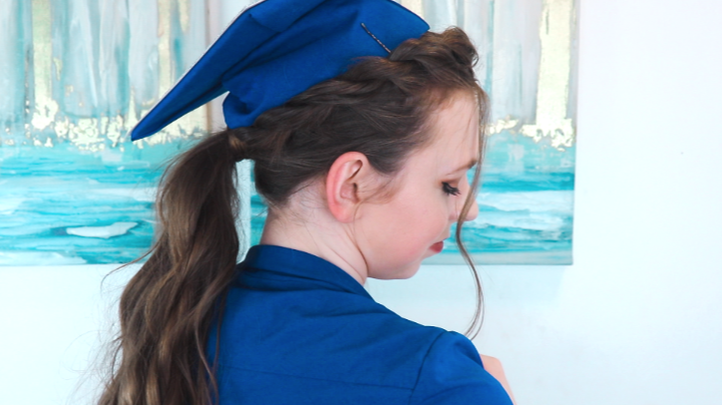
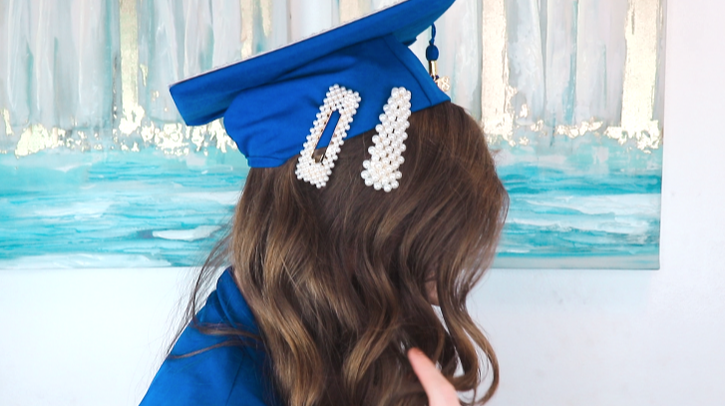
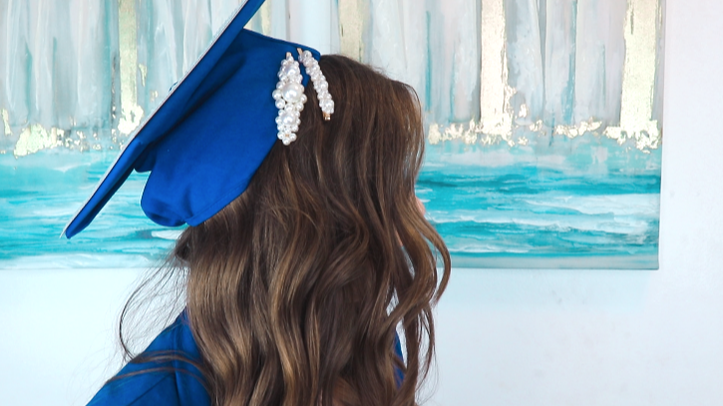
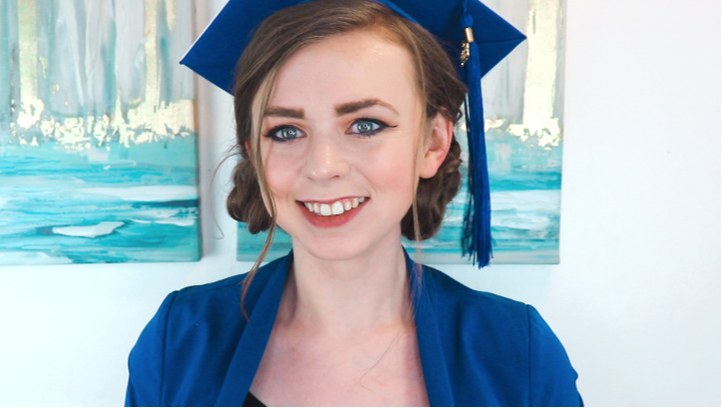
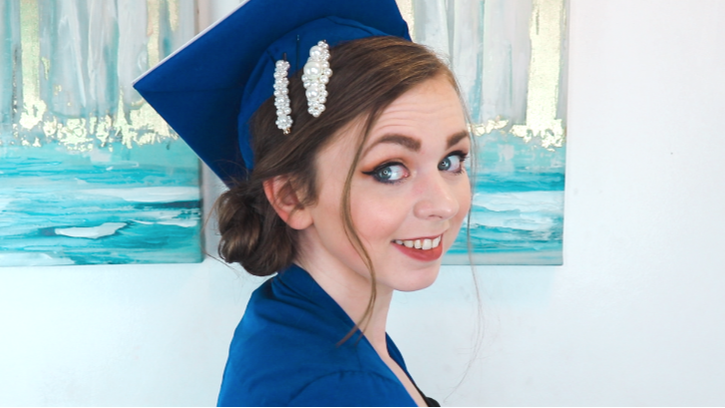
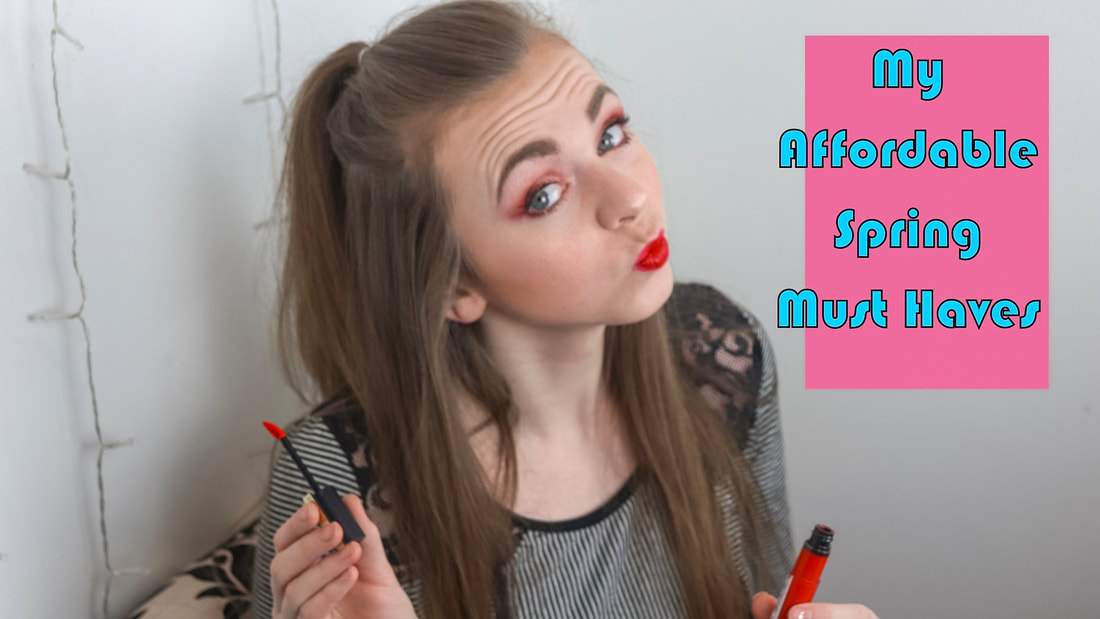
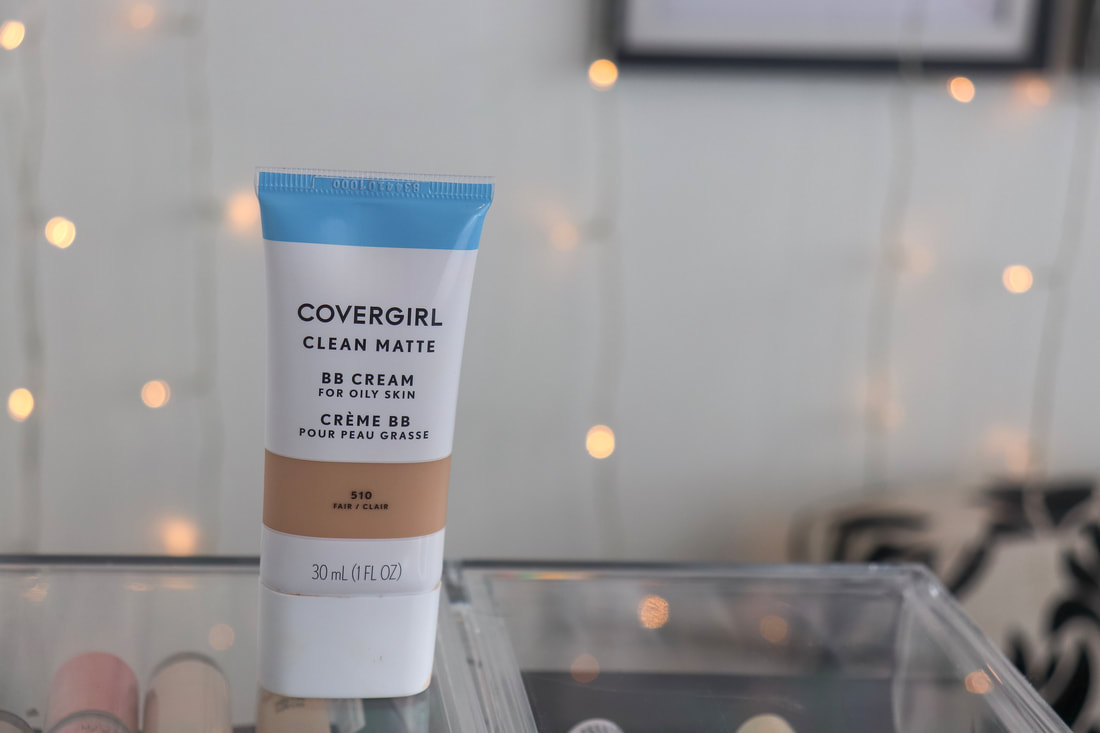
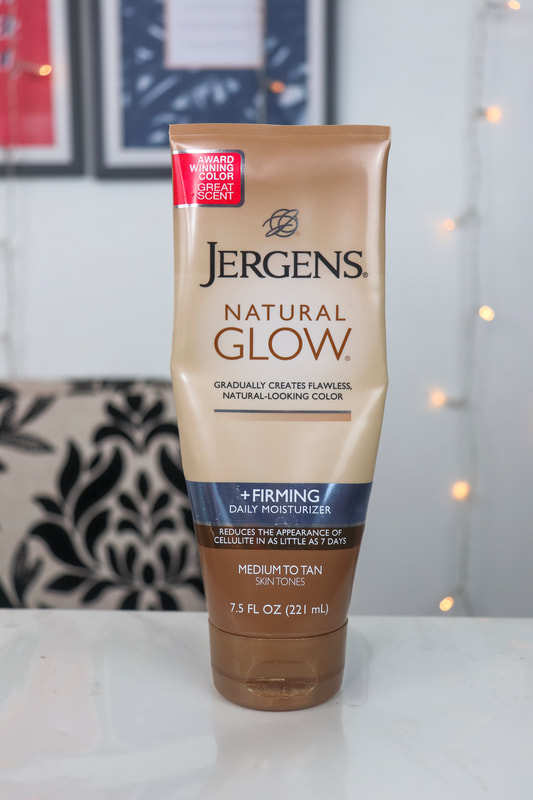
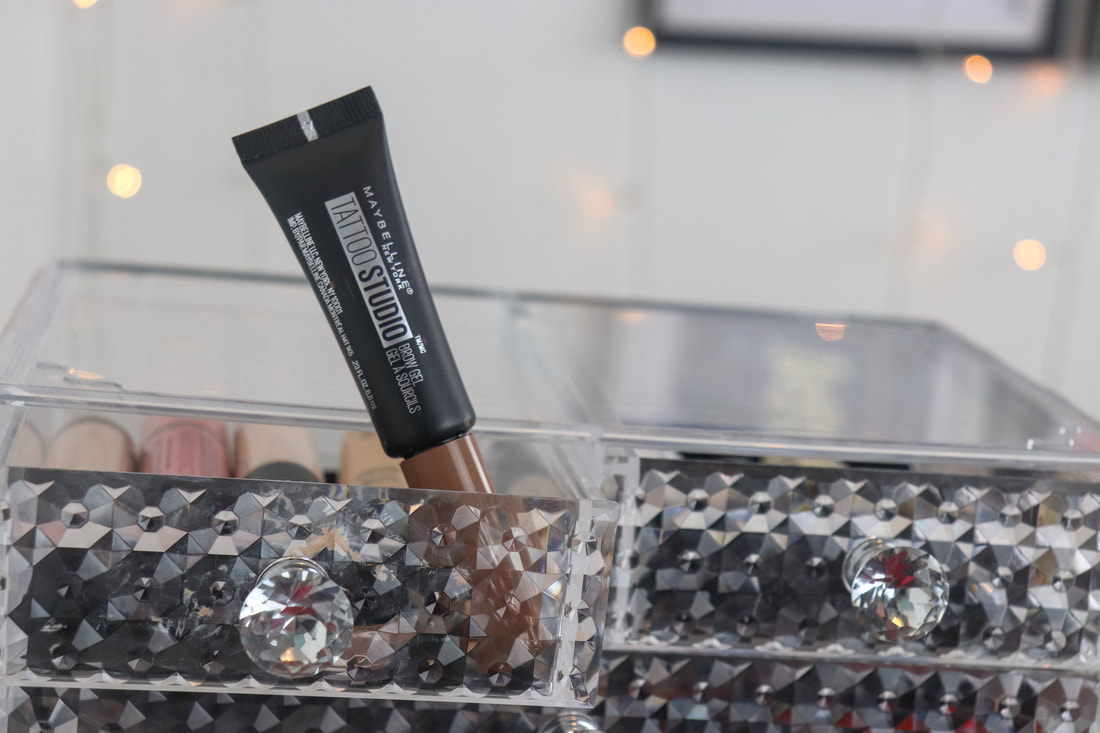
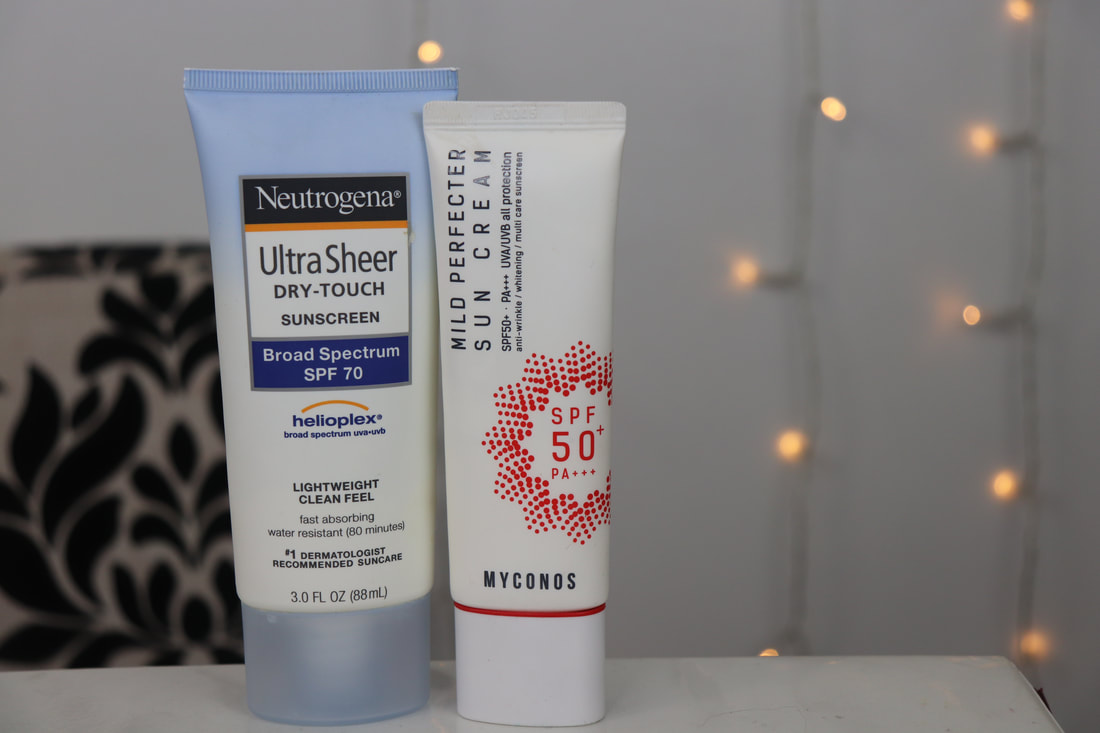
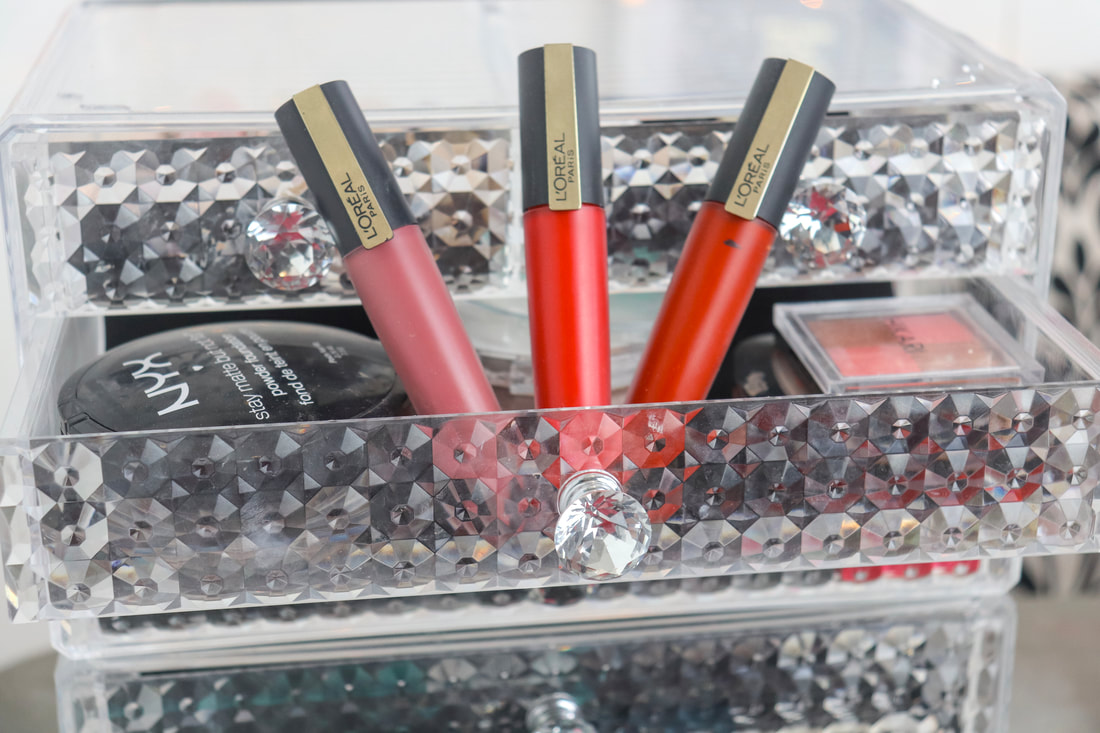
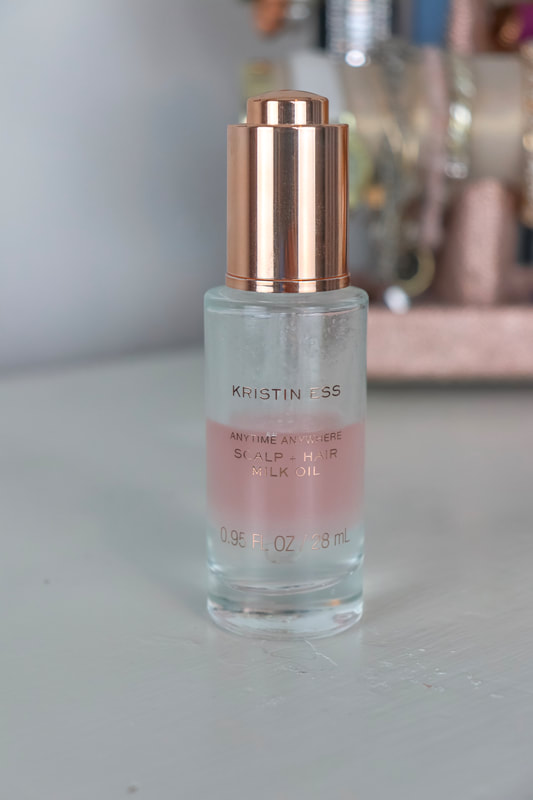
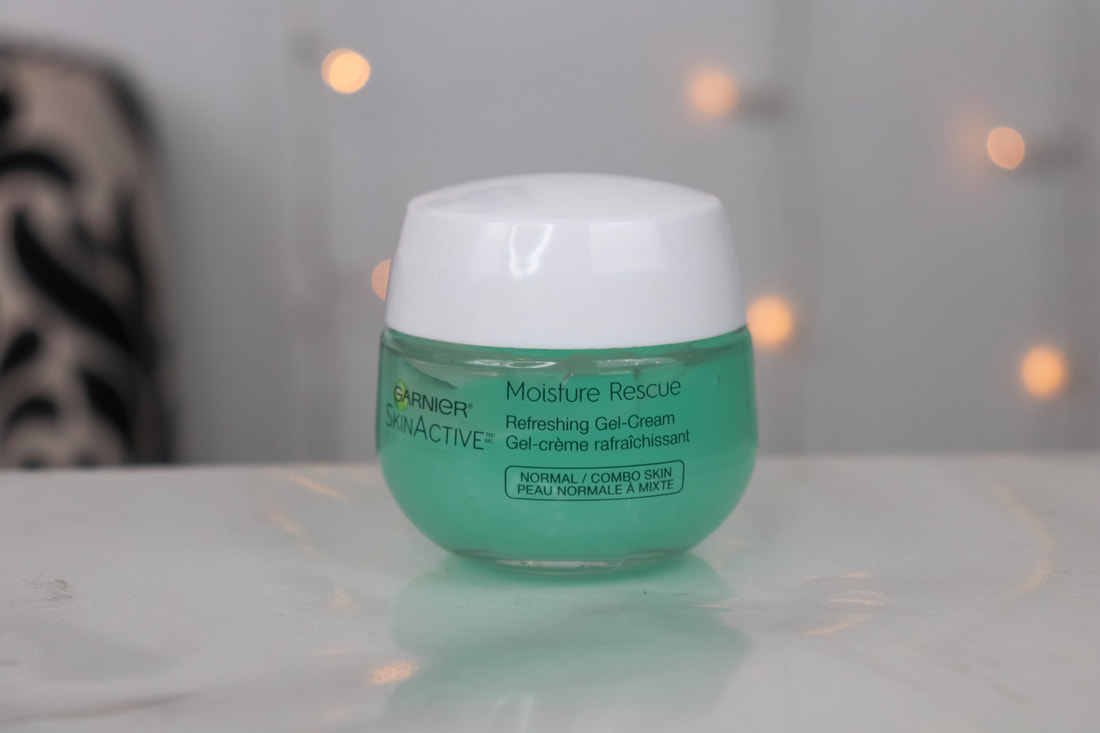
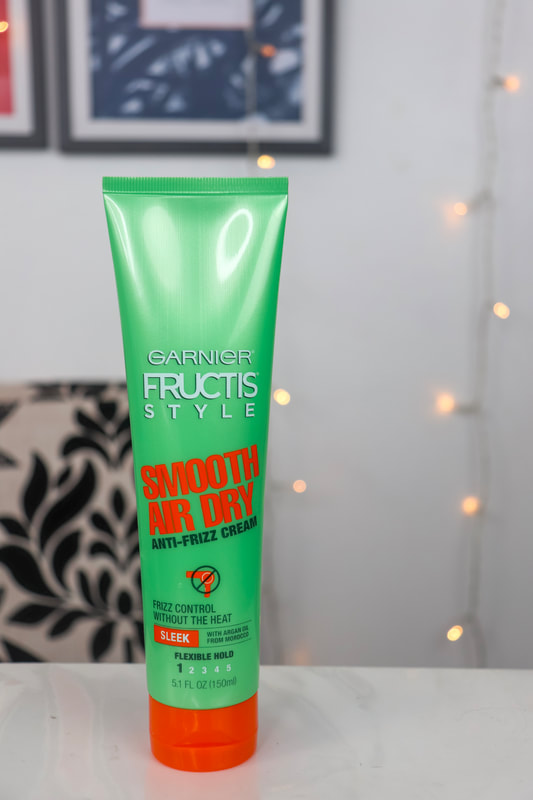
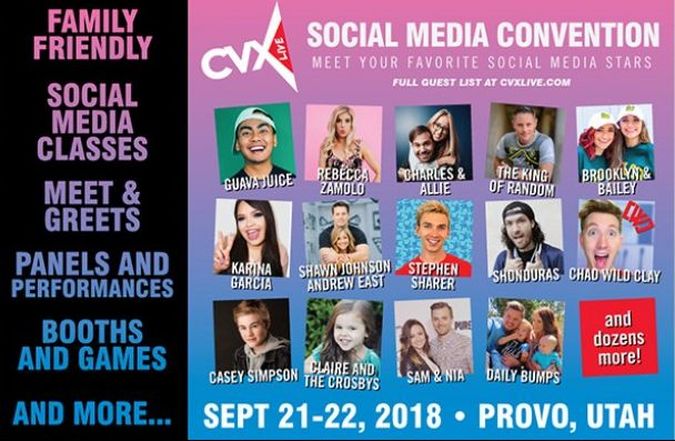
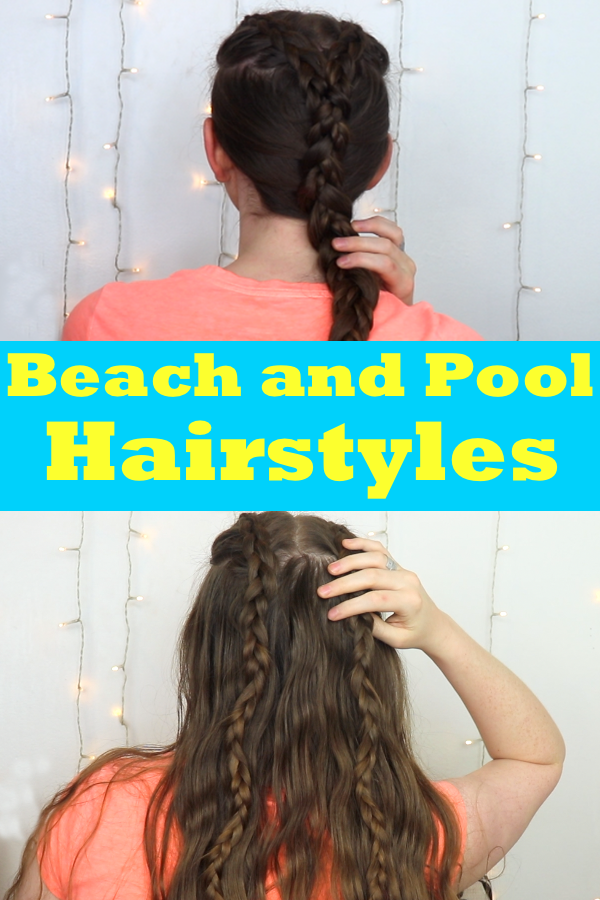
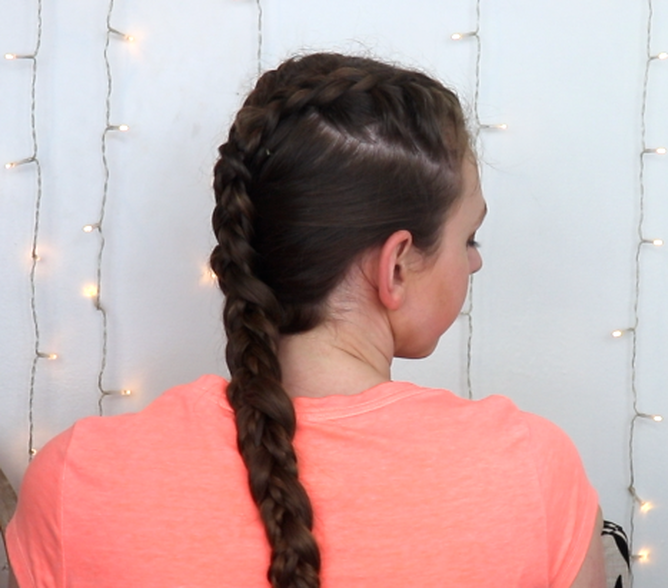
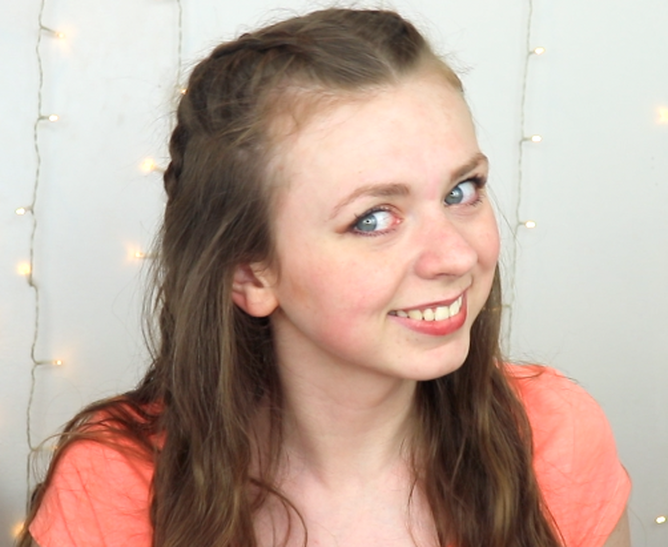
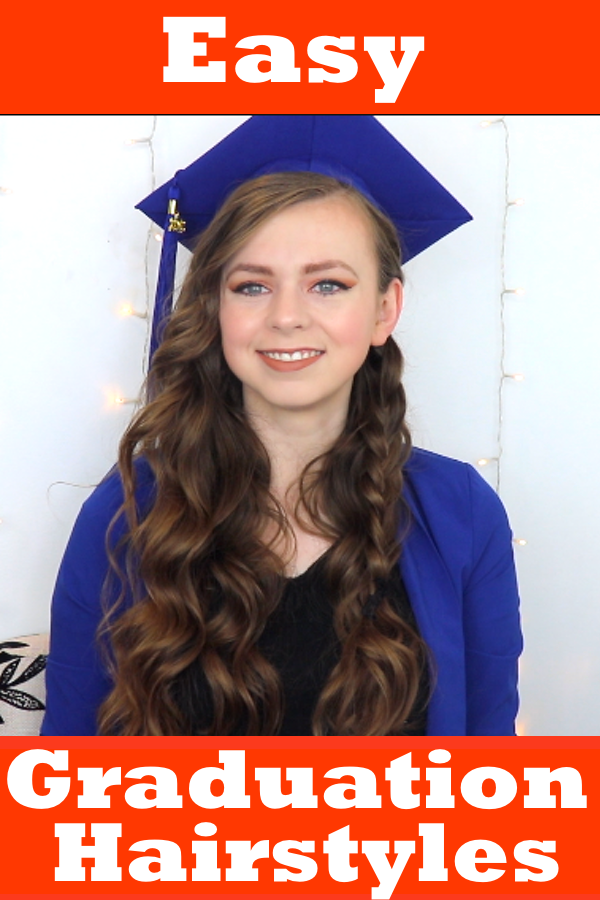
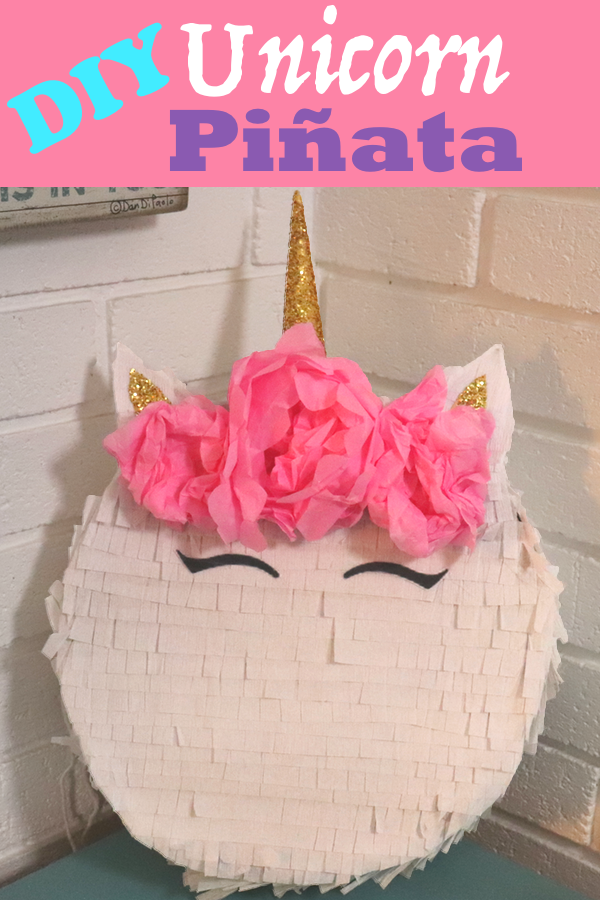
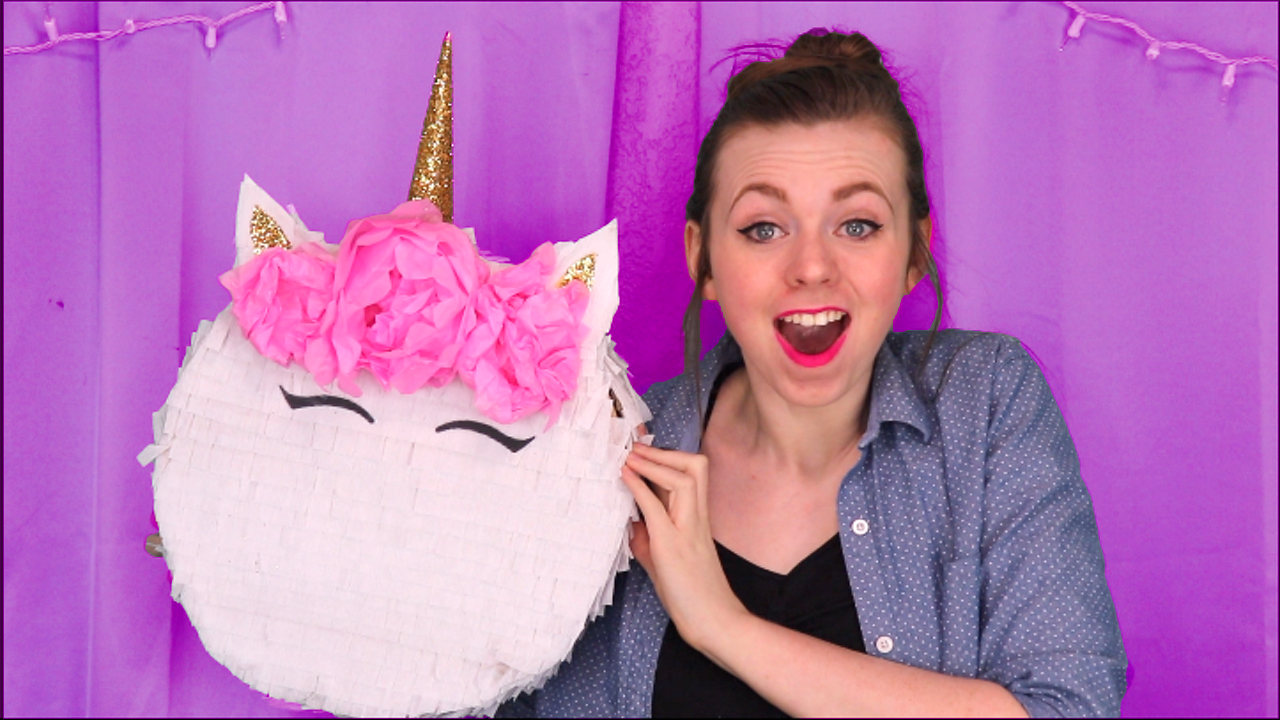
Who is ready to look gorgeous on their graduation day?! I know that your hair can be kind of stressful for big events like getting your diploma. I mean, you’ll be in front of a lot of people when you walk across that stage. And all your friends and family will want a picture with you to post on their social media. But you can now let all your worries fade because I have some beautiful hairstyles that are super easy and don’t take a lot of time to do. I also have some awesome hacks so you don’t have to be concerned what your cap looks like in photos or it falling off when your loved ones give you congratulatory hugs. You will look and feel stunning and confident sporting one of these simple hairstyles on your big day! Don’t forget to watch the video so you can see how to do all of the hairstyles and more details about the hacks! Hairstyle #1 This is by far my #1 go-to hairstyle for so many special occasions! I love it because it’s not your average half up-do. You have some hair up, but you still have some really nice face framing. You can wear your hair curled for a softer look or straight for a little more edgy look. Bonus tip! If you have any weird part lines or thinner spots, take some eyeshadow the same color as your hair and just fill it in! Hacks #1 & #2 If you don’t know how to fold your cap so it sits on your head all nice and neat instead of squishing your hair, you can click here to check out the video where I explain how to do that. That only problem with that hack is you can see the hair colored bobby pins very well and there’s really no place tuck them in to make them less noticeable. So, here are my two solutions to deal with bobby pins, if you chose to use them. #1 Embrace the pins. I took some bright pink nail polish and painted as many pins as I needed to keep my cap in place. I just kind of stuck them on, but you could do a cool bobby pin design if you wanted. I did pink because it’s my favorite color and I thought it contrasted with the blue nicely. Use your school colors or whatever you think would look best with your cap. The possibilities are endless! #2 Hide them as much as possible. The same idea as the first hack except you paint the pins the same color as your cap. Just try to color match closest to the same shade to your cap as you can. I would recommend using a matte nail polish vs a really shiny one (like what I used) for this hack because the light kind of catches the shine/glitter of the polish and make the pins more noticeable. As you can see in the picture, the pins they are a lot more hidden, but the shine can definitely be seen. If you want your hair off your neck and out of the way but don’t want it all the way up, this hairstyle is perfect for you! And this is the easiest type of braid IMHO. If you want a lot of volume in your braid, I recommend having at least a little bit of a wave or curl to your hair. I also think some type of curl in your hair can help the hairstyle look a little bit more dressed up. If you want to see how I did these curls (that last for days), you can click here. Hack #3 I know this might seem kind of an obvious hack, but it’s too cute to not mention! Why not glam it up and add some statement hair accessories to keep your cap on your head?! You could really do any style of clip you want, but I am super in love with gold/pearl hair bling right now. You can do any pattern you like, but here are a few ideas to help you figure out what you might want to do. On one side of my head, I did the bigger statement clips and on the other, I did a couple of small gold pins so my cap was secure. I don’t have a picture of the side with the smaller pins, so you’ll just have to watch the video to see. If you’re interested in the hair accessories I used, (they all came in one kit for super cheap and are really nice quality and sturdy) you can click here to check them out. Sometimes it’s hard to find a cute up-do that still looks cute once you put your cap on. This hairstyle definitely does not have that problem! It looks beautiful from all directions and is the easiest up-do I’ve tried.. I think this up-do would especially look amazing with those gold and pearl clips! As in hairstyle #2, I recommend having at least a little bit wave or curl to your hair. (I would honestly recommend that for basically any up-do though.) It just makes the style come together so perfectly and is a lot easier to manage. Don’t forget to watch the video to see how to do all of the hairstyles and more details about the hacks! Congratulations to everyone that is graduating this year! If you are graduating, I would love to know when! Also, if you know someone who is graduating soon, don’t forget to share this with them! Even though Mother Nature can’t make up her mind between warm weather and sleet, the calendar says that Spring is officially here! Because I’ve been needing some sun on my face for weeks, I thought it would be fun to gather up my top Spring favorites to show you so we can all make the most out of the season this year! BB Cream Clean Matte BB Cream by CoverGirl $5.59-$6.79 on Amazon. When the weather starts to warm up, I like to switch to lighter face makeup for my day to day look. This Clean Matte BB Cream by CoverGirl is AWESOME for that! I love it because it has a little bit more coverage than your average BB cream, but is still super light and airy. Because it’s matte, you won’t look like an oily mess by the end of the day. But it’s not drying AT ALL. It’s basically everything you can ask of in a BB cream! Self-Tanner Natural Glow Firming Moisturizer by Jergens $7.99 on Amazon I don’t know about you, but the first time I put on shorts after a long winter, I am blinded by how pale I am. Anyone else? I really like this Natural Glow Firming Moisturizer by Jergens because it gradually provides a natural-looking tan while hydrating the skin. I don’t even need to use a mitt! I just wash my hands right after I apply the lotion so it doesn’t stain my palms. Note: Even though I’m very fair, I still prefer the medium to tan shade. Brow Gel Tattoo Studio Brow Gel by Maybelline $9.98-$12.99 (Depending on the shade) On Amazon. This is the best affordable brow gel in existence! Tattoo Studio Brow Gel by Maybelline has its name for reason! Once you put it on and let it dry, it’s not going ANYWEAR until you want it off. It’s smudge proof and waterproof. INSERT PHOTO HERE!!!! I even got a hose sprayed directly on my face and it DIDN’T BUDGE! The gel is also very pigmented and has fibers in it to make your brows thicker and more voluminous. What could be better than that?! Sun Protection Ultra Sheer Dry- Broad Spectrum Touch Sunscreen by Neutrogena $8.99 at Target. Mild Perfecter Face Sun Cream by Myconos $10.97 on Amazon. Protecting your skin from the sun is SO INPORTANT (even when Mother Nature is confused about which season it is)! That said, I am picky about sunscreens. They tend to smell weird and break me out. I’ve tried and tossed out more sunscreens than I can count. I really love the Ultra Sheer Dry- Broad Spectrum Touch Sunscreen by Neutrogena and the Mild Perfecter Face Sun Cream by Myconos. Both of them work really well, are super-fast drying, don’t smell funny, aren’t greasy, and don’t break me out. Plus, the Face Sun Cream is water based, whitening and anti-aging! Lippies Rouge Signature Matte Lip Ink by L’Oreal $9.97-$11-99 (Depending on the shade) On Amazon. Shades from left to right are I Rule, I Represent, and I Am Worth It. I’m going to honest, the first time I tried these, I was a little disappointed. I had the expectation that they would last ALL DAY, and they definitely do not. But once I let that idea go, I fell in love with these Rouge Signature Matte Lip Ink by L’Oreal! They’re very matte, feels like NOTHING (I mean NOTHINH) on your lips, are pigmented, and smudge proof (except the red, it smudges a little bit). I only have to touch it up after I eat. So if you don’t mind reapplying a couple times a day, I think you’ll be a big fan of these mighty matte colors. Hair Oil Anytime Anywhere Scalp + Hair Milk Oil by Kristin Ess $14.00 at Target Because my hair is naturally so dry, I feel like hair oil is an essential for my hair routine. This Anytime Anywhere Scalp + Hair Milk Oil by Kristin Ess is impressive – especially for the reasonable price. I love it because you only need the tiniest bit, it’s super lightweight, and it smells AMAZING! Like, seriously, I always get complimented on how good I smell whenever I use this. And isn’t that one the best compliments you can receive?! Moisturizer Moisture Rescue Gel-Cream Face Moisturizer by Garnier SkinActive $6.62 on Amazon. My skin has a REALLY hard time transitioning from cold to warm weather. It has a “big meltdown” as I like to call it. This Moisture Rescue Gel-Cream Face Moisturizer by Garnier SkinActive seems to just calm everything down. It’s oil-free with vitamin E and fruit water. The gel is hydrating and feels nice and cool on the skin. And I SWAER it helps fill in my pores, even though it doesn’t claim to do so. Hair Cream Smooth Air Dry Anti- Frizz Cream by Garnier Fructis $3.49 on Amazon. When the weather starts to get warmer, I don’t want a blow dryer blasting hot air all over me. But… I get super frizzy hair if I let my hair air dry. However, I found a magic solution to my frizzy drama: The Smooth Air Dry Anti- Frizz Cream by Garnier Fructis! This helps me get smooth, non-frizzy hair without the heat. One thing to note is that you CAN go overboard on this stuff. A little goes a long way. If you’re not careful, you will end you with very flat, weighed down hair. But apply it correctly and you will have beautiful healthy looking hair! That’s all for my list! Do you have any must-haves for spring? I would love to know in the comments! That way, everyone can enjoy all the spring things! Love you wonderful people! Don’t ever forget You Are Enough! I am super excited, but I want to throw up at the same time. This is not our first YouTube convention. This won’t be the first time we are rubbing shoulders with creators, who are so much cooler and more well-known than we are. This is the first year that we are going to have a bunch of cooler, well-known social media gurus and celebrities scrutinizing our work and our personalities. What if they don’t like us?!?!? Not only are we being judged. But their judgements and decisions will impact the rest of our lives! If we haven’t talked about it enough: We made it to the Top 20 of the Next Big Creator Contest! I am not nervous about being stage. I am nervous about the finality of the outcome of the contest. Where is this chapter of our lives going to take us next? I am not good at the unknown!  I know that a lot of people can’t wait to turn 21 because they suddenly have more freedom. I don’t drink and so, my 21st birthday meant something really different to me. At 21, I became free from many challenges: I was able to start my own YouTube channel and I was able to get my learner’s permit. I have spent the last year successfully climbing a mountain that most would think was impossible for me to do. My goal at 22 is to finish the process of getting my driver’s license and grow mine and my family’s brand. I know that this year, more than ever, I can prove to the world that health challenges and disabilities may slow a person down, but they don’t have to keep you from having an awesome life! It seems like our family revolves around Michialee and the challenges that she is facing right now. I am not blaming her. I know that it isn’t her fault that these things are happening to her. Actually, I “get” what it is like to be in her situation. When I was little, just like Michialee, I started having memory problems and having trouble with my school work, which had once been easy for me. I started losing consciousness and having seizure-like symptoms that no one could figure out for a long time. Like Michialee, I was in and out of the hospital, the doctor’s office, and therapy. My family revolved around me. I can’t remember most of my childhood. There are some special times that I do remember though. I am so grateful for those times. The following footage was shot right before Michialee started going downhill and needed to be hospitalized for 8 days. This fun girls’ day was a tender mercy before the storm and one I believe that she will remember. We had so much to celebrate that day: We had just reached 5,000 YouTube subscribers and our friend, Kim Here, was taking us downtown to try out a cookie dough shop. It was the perfect day right before the perfect storm. These are the kinds of hairstyles that are great for transitioning from a day at the beach to an evening out. You won't believe how quick and easy it is to go from day to night with these hair hacks! These are some amazing hacks that you probably haven't seen before.! I show you the hairstyle I did so that I could go from a day at the ocean to an important business networking function. Super-EASY hacks to look great instead of awkward in your graduation cap.... Learn the 3 best hairstyles and my favorite 3 hacks to look your best on graduation day in that cap! Tutorial in the video below. I came up with a simple, money-saving idea for an adorable unicorn piñata! Here is what you'll need to create your unicorn masterpiece: Card board White paper party streamers Hot glue Glue stick Tissue paper (I used pink) Construction paper or glitter paper Glitter (if you’re not using glitter paper) String or rope Tape Measuring tape Stencils for the eyes (optional) I just googled free picture of unicorn eyes and printed the first thing that came up Below is the fun and EASY, 7-minute instructional video. |
Emmarie is a YouTube creator, Easy DIY-hacker and a makeup & hairstyle aficionado. Her faith never waivers and she doesn't know the meaning of the word quit. Categories
All
|



 RSS Feed